No Knead Artisan Bread Recipe
No knead artisan bread is a recipe that requires only 4 ingredients. Making artisan bread from scratch is easy and will impress your friends and family!
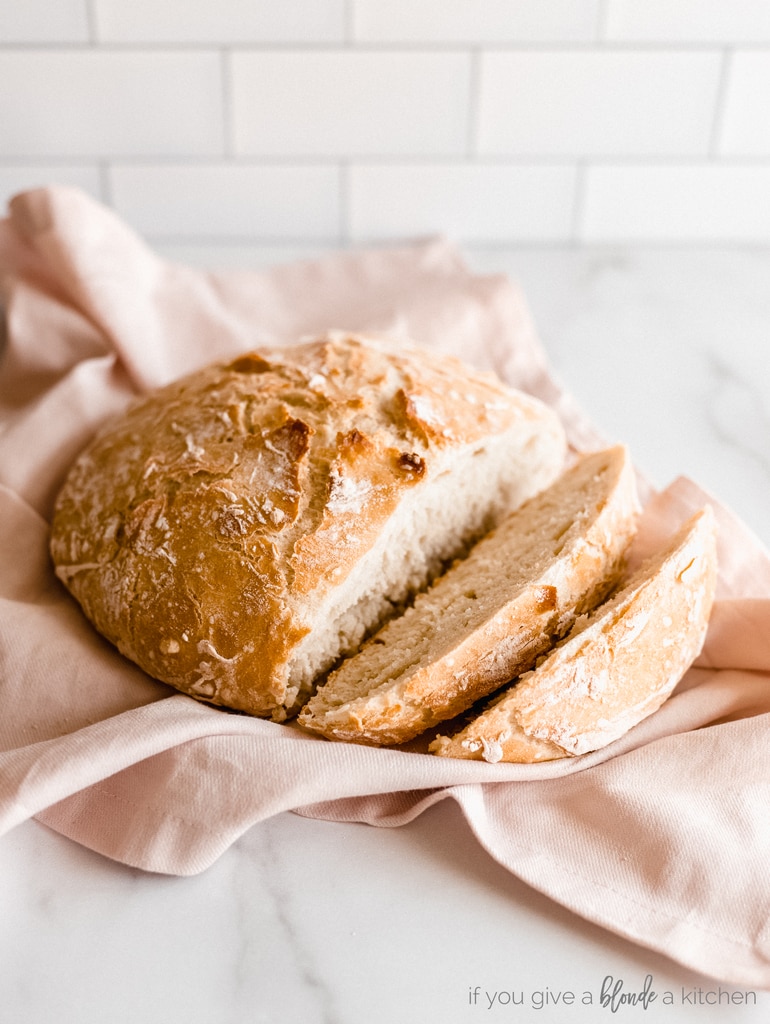
There are certain recipes that everyone should master in the kitchen and bread is one of them. This no knead bread recipe is simple to learn and will without a doubt impress house guests. Many think that in order to make good bread from scratch a bread maker is necessary (or at the very least a lot of kneading by hand). I will even admit that I once believed one of the two were needed.
Lucky for all of us, that turns out to be false. Good artisan bread is achievable sans bread maker (as for the hand kneading, you can leave the arm work out for the gym). What you will need is a dutch oven. Le Creuset makes a high-quality dutch oven that lasts for decades, but there are also more budget-friendly options too (like this less expensive dutch oven).
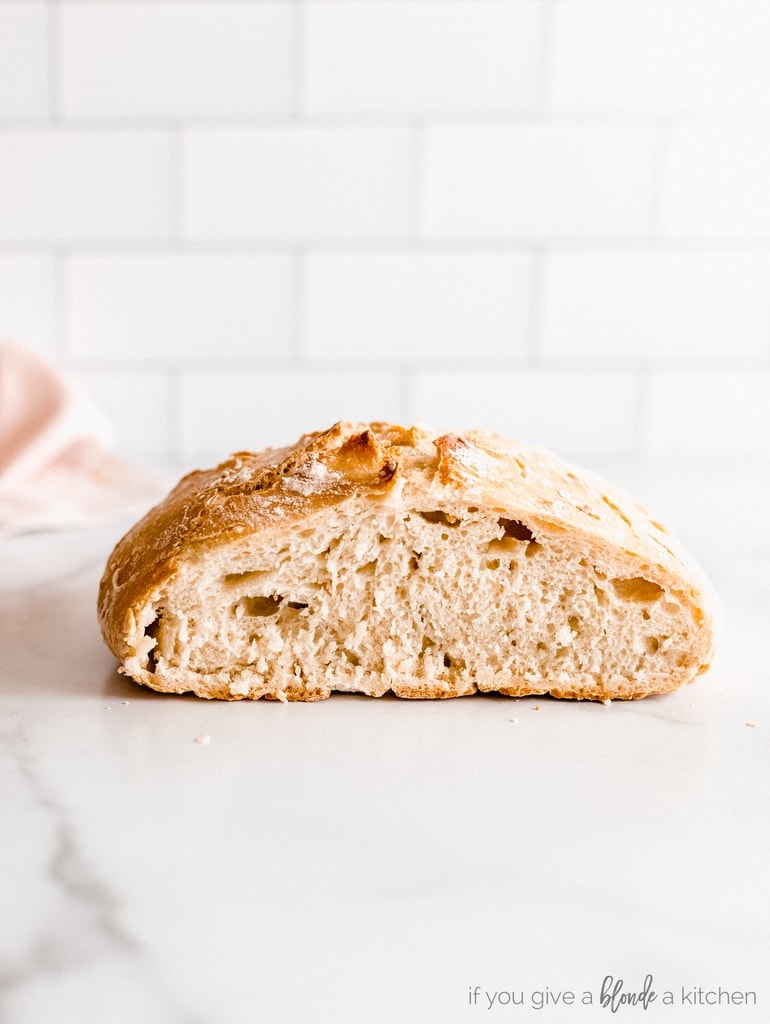
What is artisan bread? Artisan bread is a fresh, homemade bread with a crusty exterior giving it a rustic appearance. An artisan is a person who works with their hands, which many bread makers do. On the contrary, this bread recipe requires very little work with your hands as there is no kneading involved!
Ingredients overview
- All-purpose flour: I like that this recipe does not use bread flour because all-purpose is an ingredient that I always have in my pantry.
- Yeast: Instant yeast works best in the recipe, however active dry yeast may be used as well. If you use active dry yeast, allow bread to rise a little longer.
- Salt: Coarse kosher salt is ideal for taste. Table salt works in a pinch (pun intended).
- Room temperature water: Warm water makes yeast work more quickly, so room temperature slows down the rising process and yields a better flavor.
How to make no knead bread
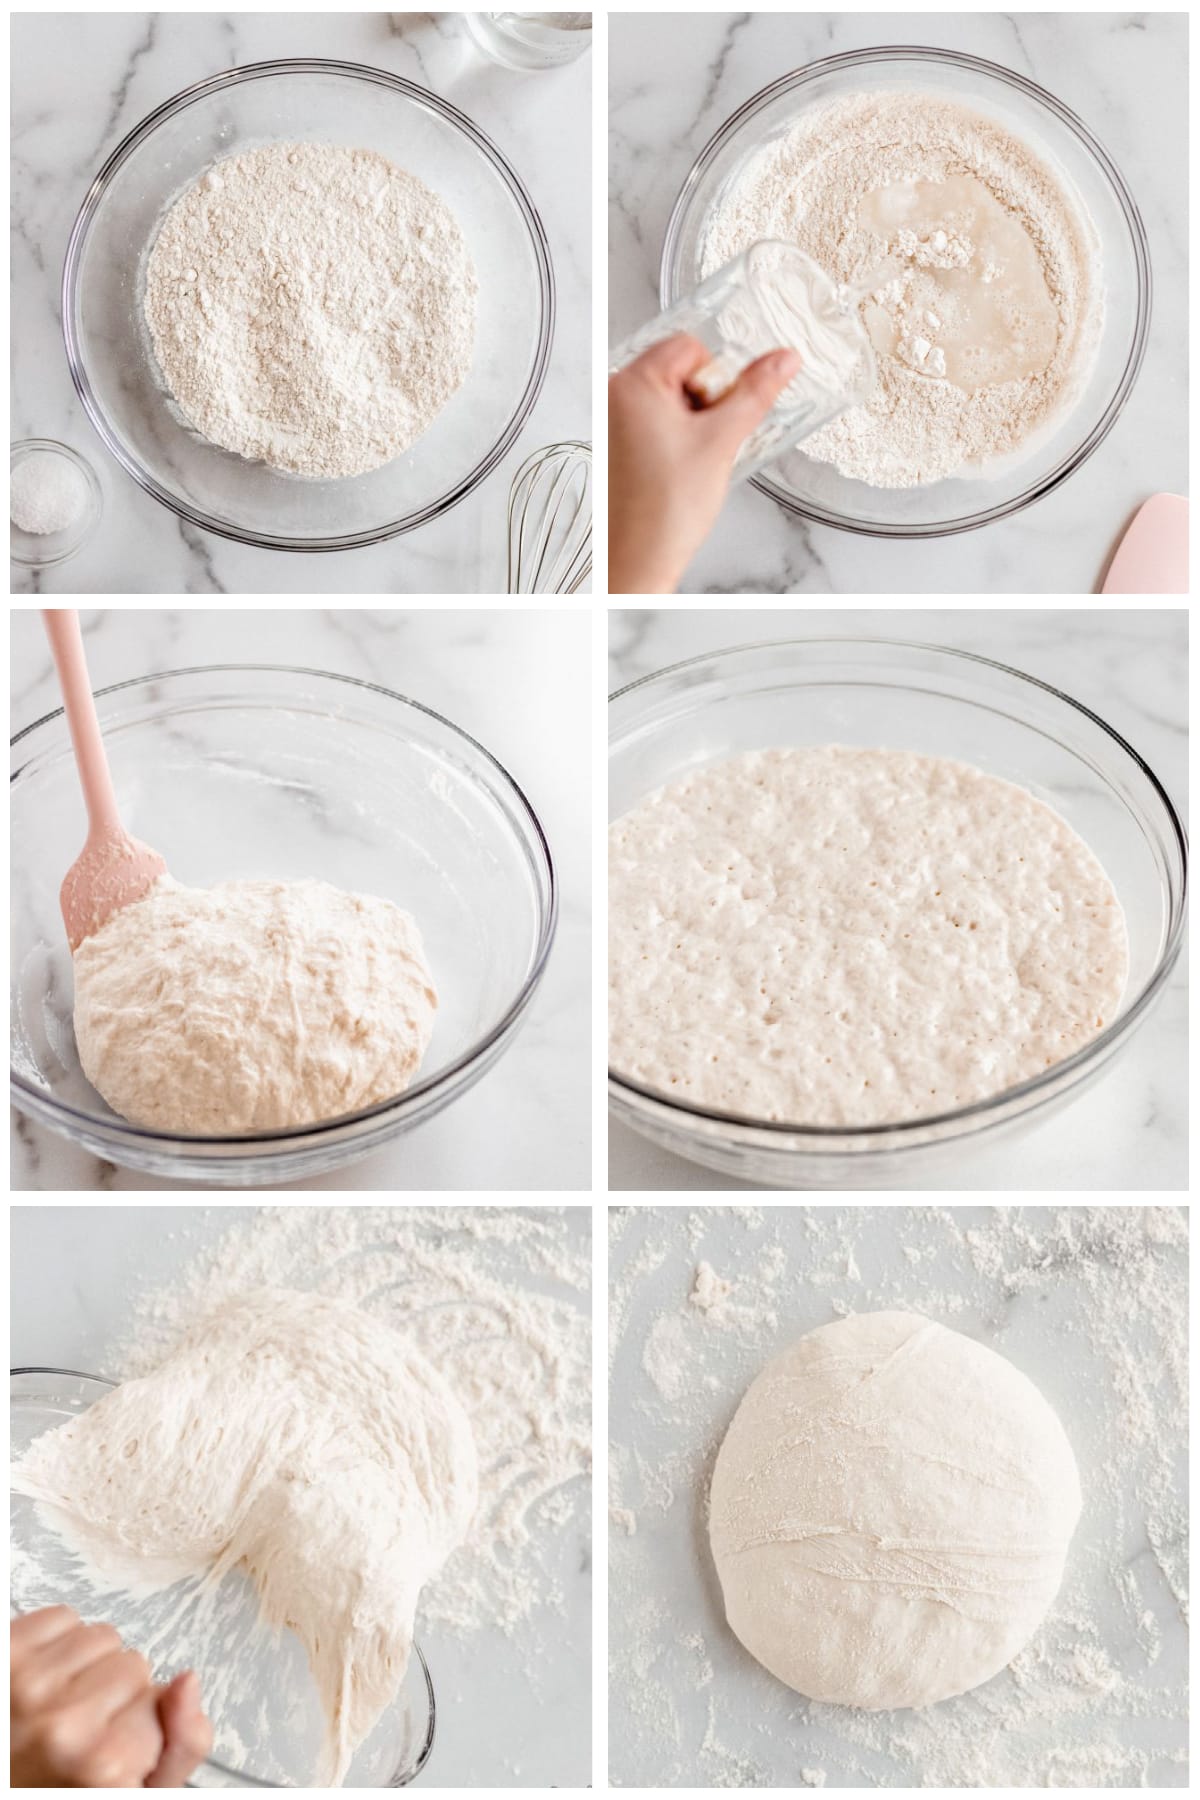
- Whisk the flour, salt and yeast together. Use a big bowl so the dough has room to rise.
- Add the water. Use a spatula, wooden spoon or your hands to combine the ingredients into a shaggy ball. Make sure all the flour is moistened. The dough will be sticky.
- Let dough rise. Cover the bowl tightly with plastic wrap. Allow dough to rise at room temperature for 12 to 18 hours.
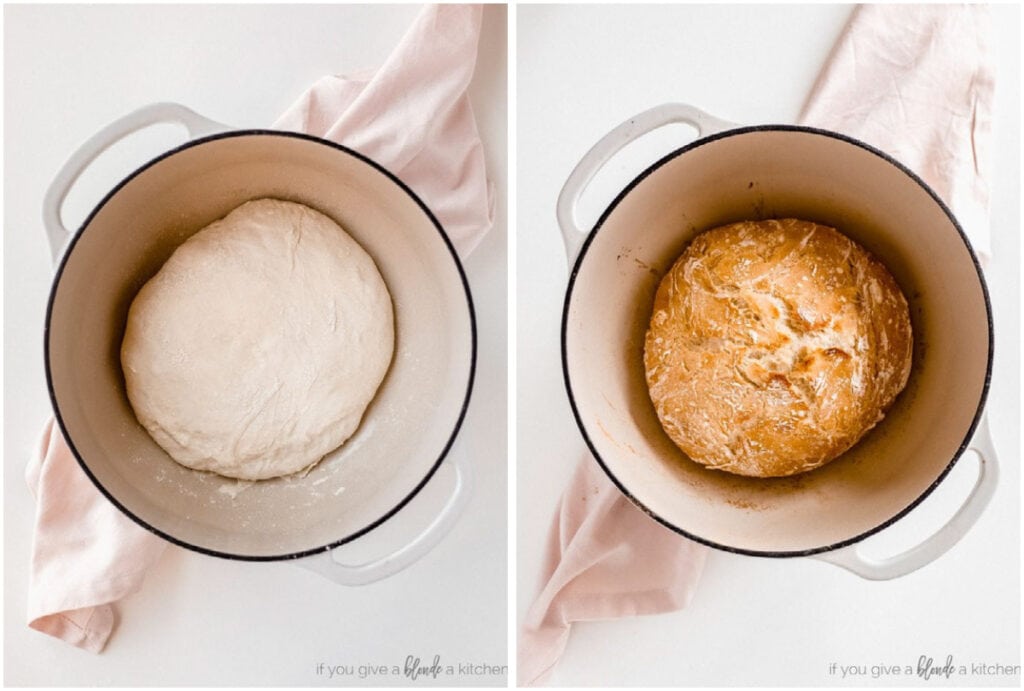
- Preheat oven to 450 F. Place your dutch oven pot in the preheated oven and allow the pot to heat up for at least 30 minutes.
- Shape dough into ball. Place risen dough on a floured work surface. Shape it into a ball tucking any loose seams underneath the ball. Remember no kneading!
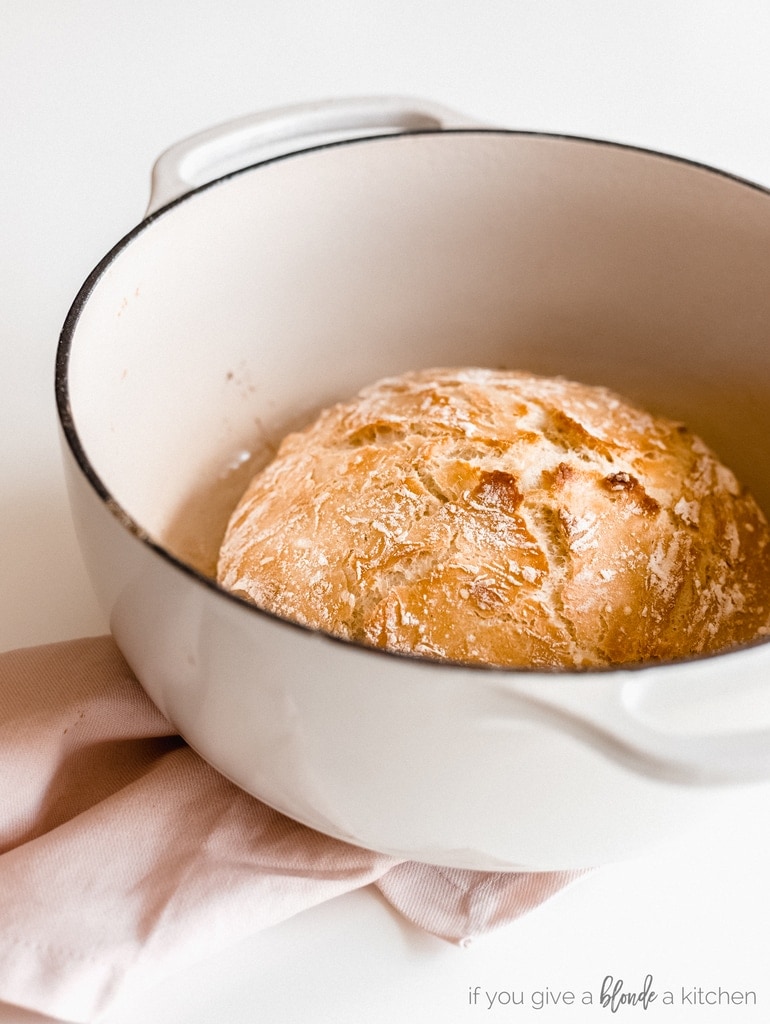
- Bake bread in the dutch oven. Remove heated dutch oven pot and place the dough ball inside. Cover with a lid and return the pot to the oven. Bake for 30 minutes with the lid on. Remove the lid and bake for 15 more minutes.
How to store bread
No knead bread can be stored in a paper bag or bread bag for a couple days. Keep the bread in dark cool place is best (like a bread drawer). It’s best when eaten within two or three days, but once stale can be used in recipes such as french onion soup, Thanksgiving stuffing, and homemade croutons.
High altitude adjustments
This recipe was written and tested at sea level, but I have also made this bread at high altitude 5,280 feet in Denver, Colorado. After multiple recipe tests, I found that the only adjustment is reducing the amount of yeast to 1/4 teaspoon. If you are baking at higher altitudes, consider adding more water 1 Tablespoon at a time. Flour is dryer at higher altitudes and absorbs more water.
Frequently Asked Questions
Yes! A tablespoon and a half of dried spices is the perfect amount. Options include rosemary, fennel, thyme, tarragon, dill or an Italian blend.
Yes, about 2 tablespoons of flax seeds can be added with the dry ingredients.
Yes, 2 to 3 tablespoons of liquid honey can be added with the water.
Yes, 1 cup raisins or dried cranberries may be added with the dry ingredients. The flour will coat the dried fruit so they distribute evenly (similar to my Irish soda bread).
Yes, allow bread dough to rise first, then keep it covered and refrigerate for up to three days before baking.
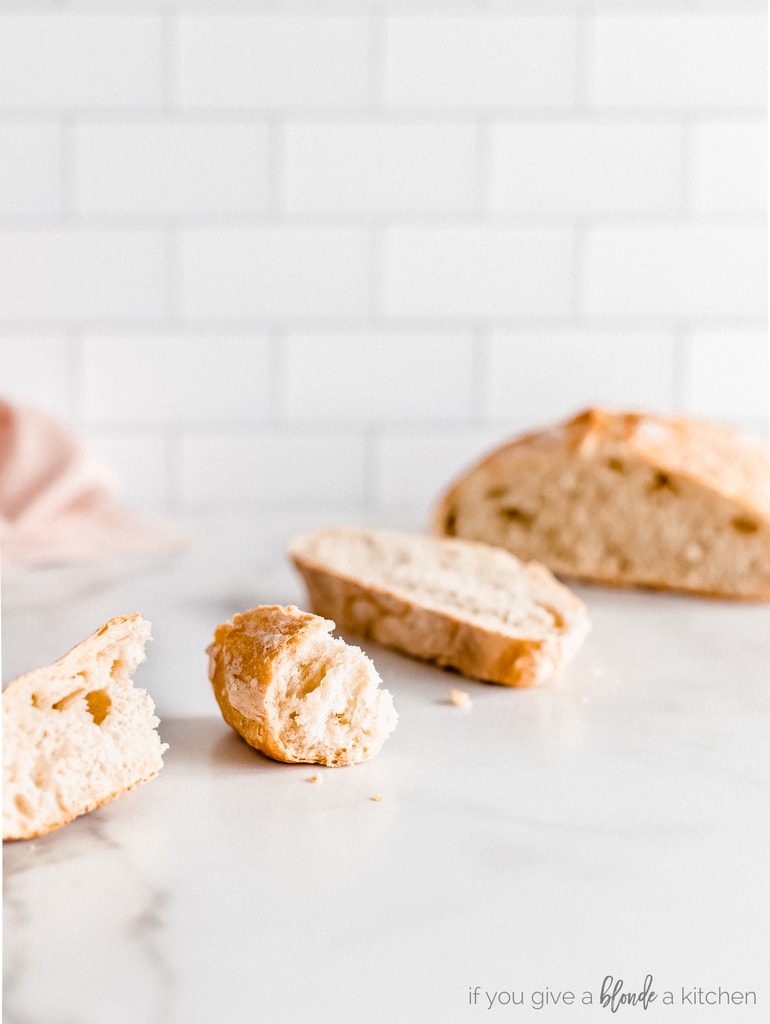
This bread is just like the loaves at the bakery. Tender, soft bread with the absolute crunchiest crust. I once was watching Barefoot Contessa and Ina mentioned that the key to knowing a bread is good is by how crunchy its crust is. Well, if that’s the tell tale sign of a good bread, then this no-knead artisan bread passes.
Not only does this bread taste and look like it came from the bakery, it makes your entire kitchen smell like a bakery too! So if you have ever had the desire to make bread in your kitchen, now is the time to try. No kneading, no bread machine, no excuses!
Get the Recipe: No Knead Bread
Ingredients
- 3 cups (360 g) all-purpose flour
- 1 ¾ teaspoon salt
- ½ teaspoon yeast, see notes
- 1 ½ cups (355 ml) warm water (about 110° F)
Instructions
- In a large bowl, whisk together flour, salt and yeast. Pour in warm water and stir mixture with a wooden spoon (or with your hands, best tool in the kitchen!) until a shaggy ball forms. Cover bowl tightly with plastic wrap and allow to rise for 12 – 18 hours at room temperature. The dough will double in size and have tiny bubbles.
- Preheat oven to 450° F. Once the oven has reached 450°, place a 5 or 6 quart quart cast iron pot covered with a lid into the preheated oven. Heat pot for 30 minutes.
- Meanwhile, turn dough out onto a heavily floured cloth towel then shape dough into a ball. Push any seams on the underside of the ball. Cover dough with cloth and allow to rest while pot is heating.
- Carefully remove pot from oven. With floured hands, carefully drop dough into hot pot (you DO NOT need to grease the pot) cover with lid, then immediately return pot to oven and bake 30 minutes (at 450°).
- After 30 minutes, remove lid from pot and bake uncovered for 15 minutes.
- Remove from oven and allow bread to cool on a cooling rack. Once completely cooled, bread stores well in an open paper bag–it helps the bread maintain it’s crisp crust.
Notes
- Cast iron dutch oven – the weight and heat of a dutch oven allows bread to bake and create a crusty exterior. This is the one I own and love it.
- Kitchen scale – weighs the ingredients for exact measurements.







36 Comments on “No Knead Artisan Bread Recipe”
That looks amazing!
Yum, I can just taste this with butter. I like the idea of no knead because I am a failure at breadmaking if I have to knead it.
This sounds super easy and delicious – just perfect for a lazy but picky eater like me 😀
Plus, your pictures look amazing.
Have a nice week!
*Maisy
Thank you, Maisy! Definitely easy and delicious 🙂
You had me at BREAD! 🙂 I’ve chosen your no knead artisan bread as my feature this week over at the Friday Favorites Linky Party and have also pinned to our party board – thanks for linking up!!
Thanks, Dawn!
Reading recipe there was a asterisk star by the active yeast but nothing written that I could see to find out why it’s there! Is there an answer to why it’s there??
Hi Joeann – it was a typo. Nothing to worry about!
I don’t have a covered pot the right size for this recipe. What pot did you use, or do you recommend? Thanks!
Hi Karin – I used a Le Creuset pot. You can find it on Amazon (here’s a budget-friendly version –> http://amzn.to/2wLONLL)
Hello. What would happen if you added extra virgin olive oil to the recipe. Or even say olives + herbs, cheese, seeds, etc?
Hi Leila! I think adding olive oil would make the bread too dense, but adding herbs is an excellent idea. I’ve added rosemary to this bread (about 1 1/2 tablespoons) and it tasted fantastic. Seeds would be a good addition as well.
My family loves this so much that I have to make it 3 times a week.
This bread looks absolutely perfect! I love how easy this recipe is!
So easy and delicious!
I love your pictures and directions. They are SO easy to follow which is great for me. I am always intimidated when it comes to baking, especially when it comes to BREAD!!! I made this and it turned out great!!! My family loved it
I cant wait to try this! I could only find active dry yeast, no instant yeast. The active dry says to dissolve it in water first. Should I do that or just add it right to the flour and salt and then add warm water?
First time making bread and I’m so excited!
The recipe calls for active dry yeast, but in the notes above you mention using instant yeast. If I use instant yeast are the measurements the same?
I’ve been making this bread now for a couple of years and it’s delicious but it is still a bit wet in the center and I can’t figure out why. I go by all the directions but it still comes wet. Any suggestions?
Hi Reta! Try using a little less water next time. If you are baking in a humid climate (especially in summer) this will affect the density of the bread. You can also keep the Dutch oven in the preheated oven a little longer to see if that helps!
Hi can you use other flour like whole wheat
Hi Rosie – Yes, you can use whole wheat.
Hi! Made this bread at 3700ft. Used your suggestions for high altitude and it came out pretty good. Currently trying it a second time. When you were at high altitude did you cut back on the rising time? I’m new at this high altitude baking. Thanks!
Hi Tara! Great question. In my experience I have found rising times to be quicker at high altitude. I look at the size more-so than the clock. At higher altitude with a dry climate, you can check the bread as soon as 8 hours to see if it is doubled in size.
This was so easy to make and so very delicious. I eat a lot of soups and this is the perfect accomtiament.
After rising, my dough is is a gloopy mess, sort of the consistency of slime and won’t hold a shape during the second rise. It bakes, comes out flat but tastes delicious nonetheless. What am I doing wrong?
Hi Susie – If you didn’t weigh your ingredients, I suggest doing that for accurate measurements. The dough should be sticky, but not like slime. If you are in a humid environment or are still having trouble, try adding 2 to 4 more tablespoons of flour.
Blue Ribbon recipe. I make this bread to rise in the evening and bake it in the morning. My husband loves it. Was wondering about adding a bit of sourdough? Has anyone added sourdough? Thanks
I was really skeptical about this recipe, because how long the process of rising took, but it came out just right even though I feel like my tucking of the dough wasn’t the best. I encourage everyone who is literally afraid of dough to try it. Just got a boost of confidence. Wish I can share my photo. Yum! Thank you for this recipe.
What’s the best way to reheat?
I’m excited to bake your bread. Can I add grains,herbs, and / or olives to this recipe ? If so how much of each ? This looks like it’s going to be my go to bread recipe
You mentioned adjustments fir high altitude. You mentioned decreasing yeast but didn’t say if that was for sea level or high altitude. I’m at 7700 feet so I need some advice. Thanks
Hi Belinda – At high altitude, use only 1/4 teaspoon yeast.
Hi! I don’t have a cast iron or covered pot that is oven safe. Could I simply bake it in a loaf pan?
This makes some fantastic bread but each time the bottom comes out very hard. Is there a way to remedy this or is that just the nature of the bread? Thank you!
I used active dry yeast, added just as the video showed. bread was delicious but I am wondering if I needed to proof the yeast first?
either way….its a delicious crunchy top and chewy bread. I love it