Witch Hat Cookies
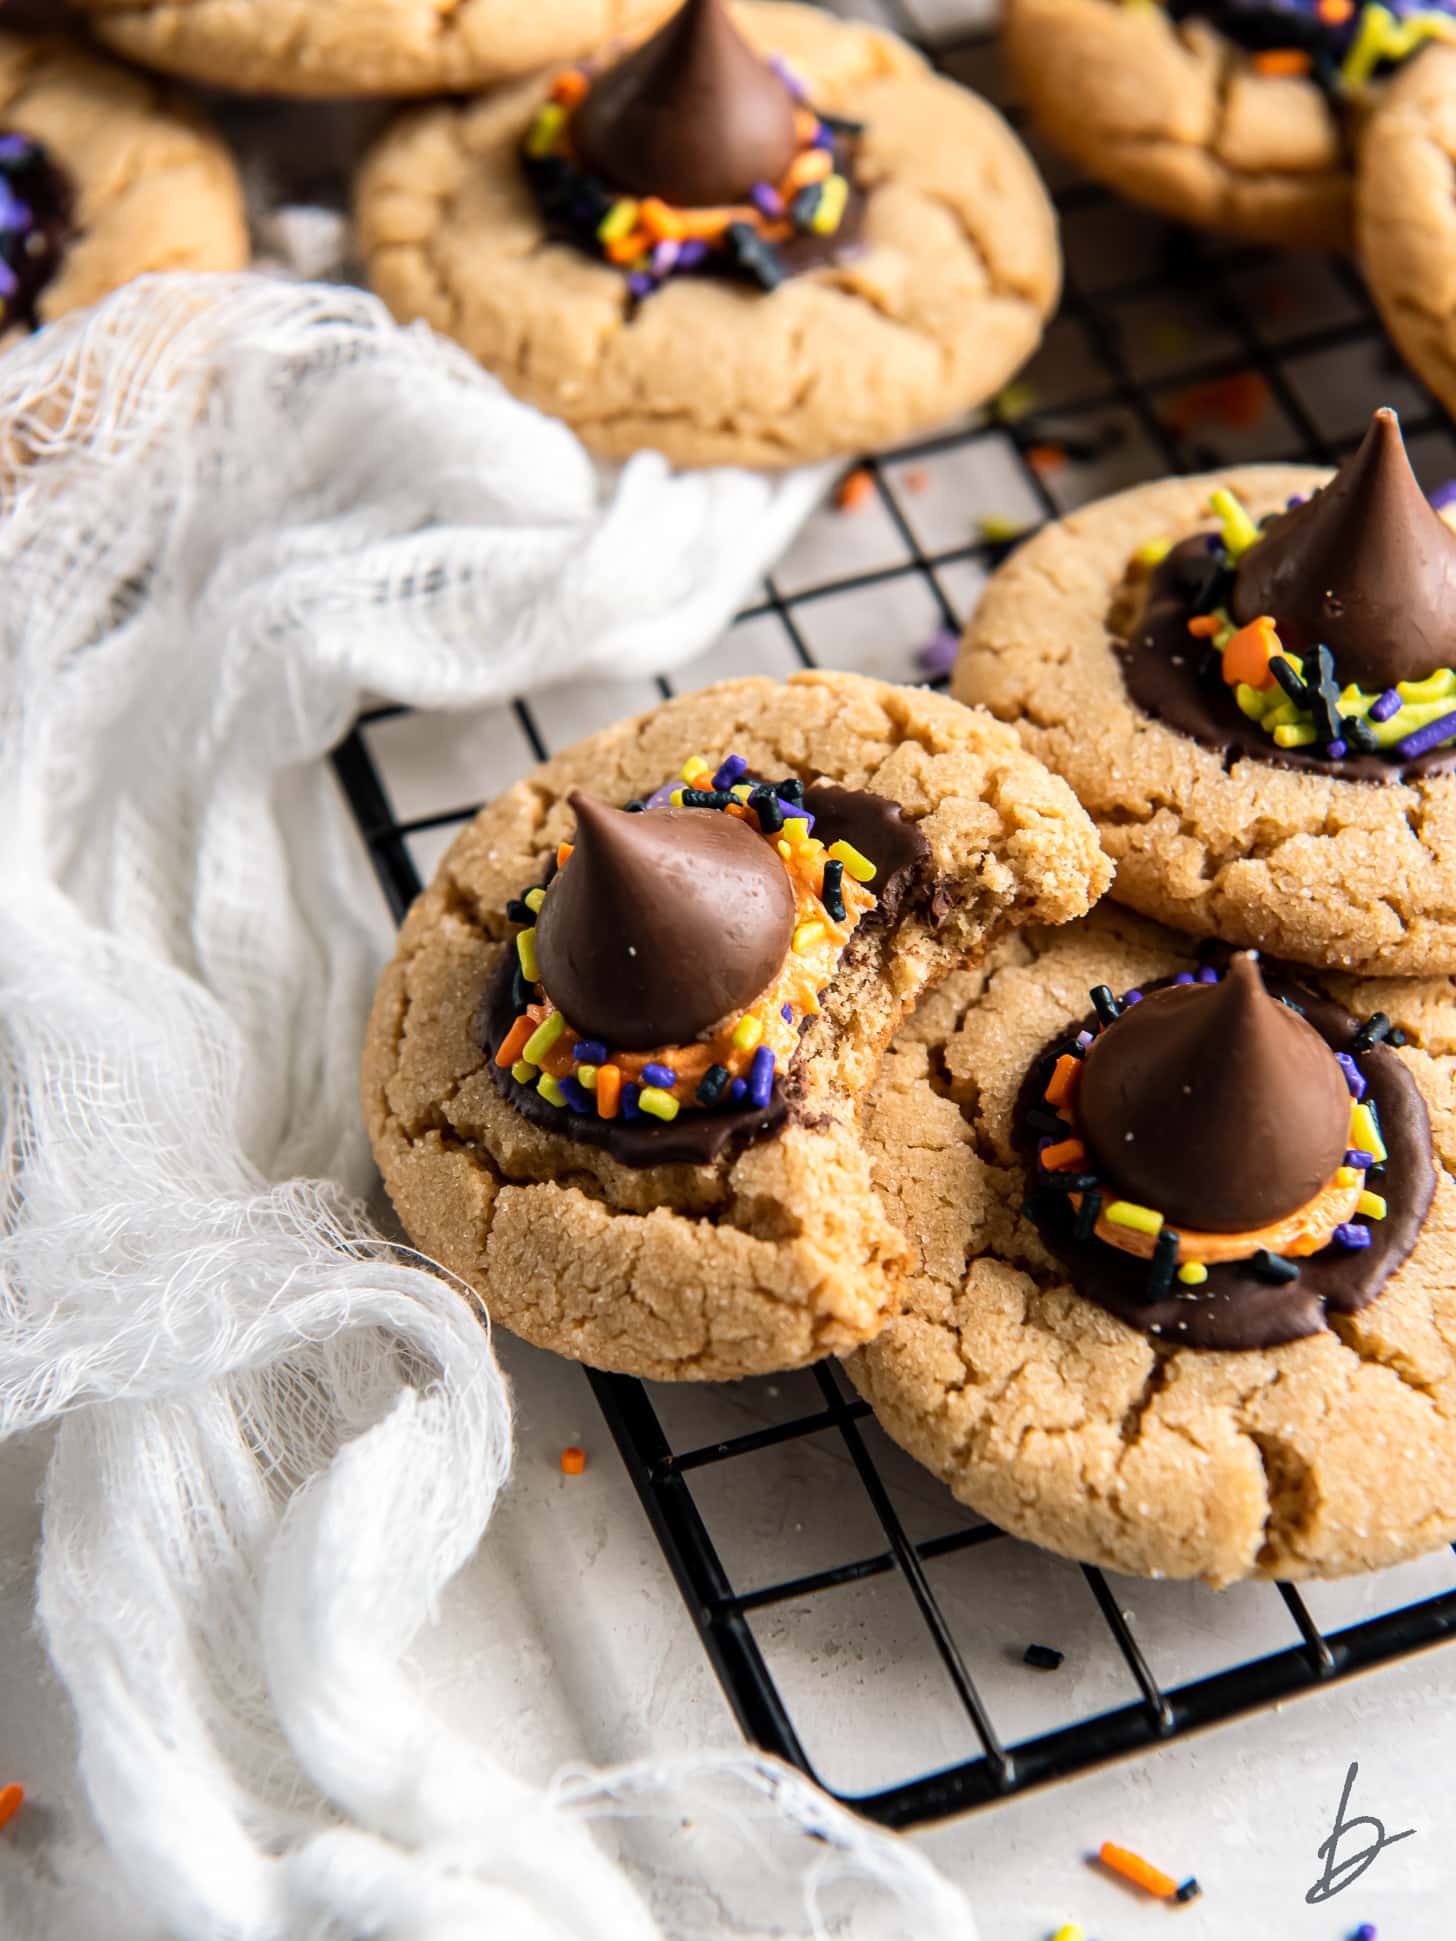
This Halloween try these deliciously spooky witch hat cookies! Made with peanut butter, these cookies are soft, chewy and topped with a chocolate kiss. This recipe is easy and fun!
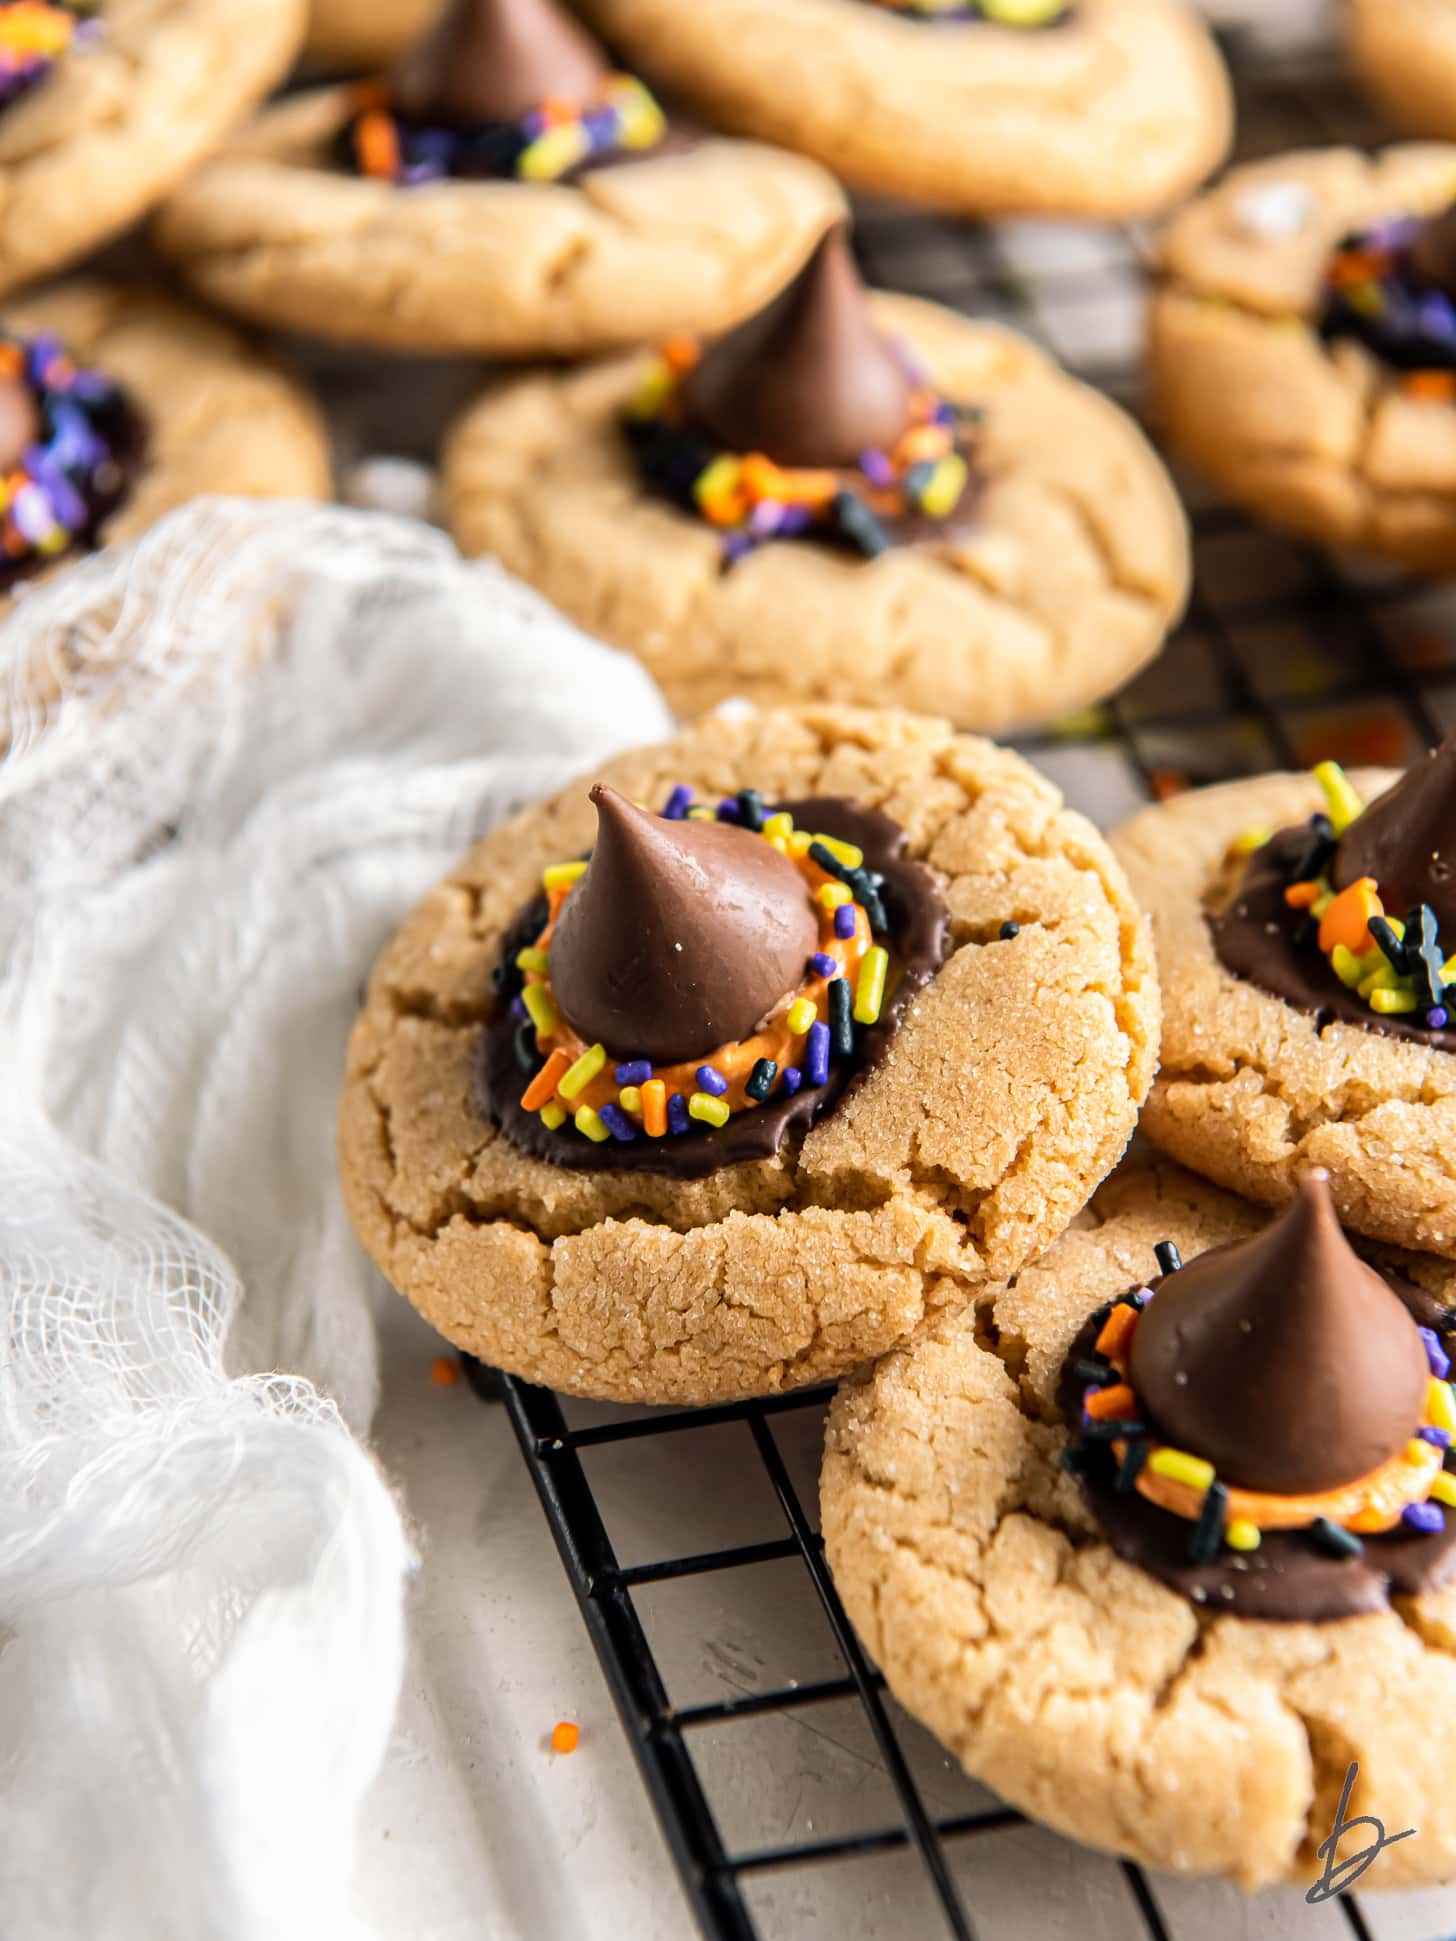
I love getting creative in my baking whenever there’s a holiday coming up. I tend to prefer cute and fun Halloween treats (as opposed to gory or scary). These witch hat cookies are right up my alley! They are made with homemade peanut butter cookies, chocolate kisses and frosting for decoration.
Why You’ll Love This Recipe
- Festive and fun! Get in the spooky spirit with these Halloween cookies.
- Spellbinding flavor. Peanut butter and chocolate are meant to be together.
- Perfect for parties! Bring these to your next Halloween party. They’ll be a hit!
- Tried and true. I’ve used this cookie recipe for a few variations (peanut butter blossoms and spider cookies!)
Ingredient Notes
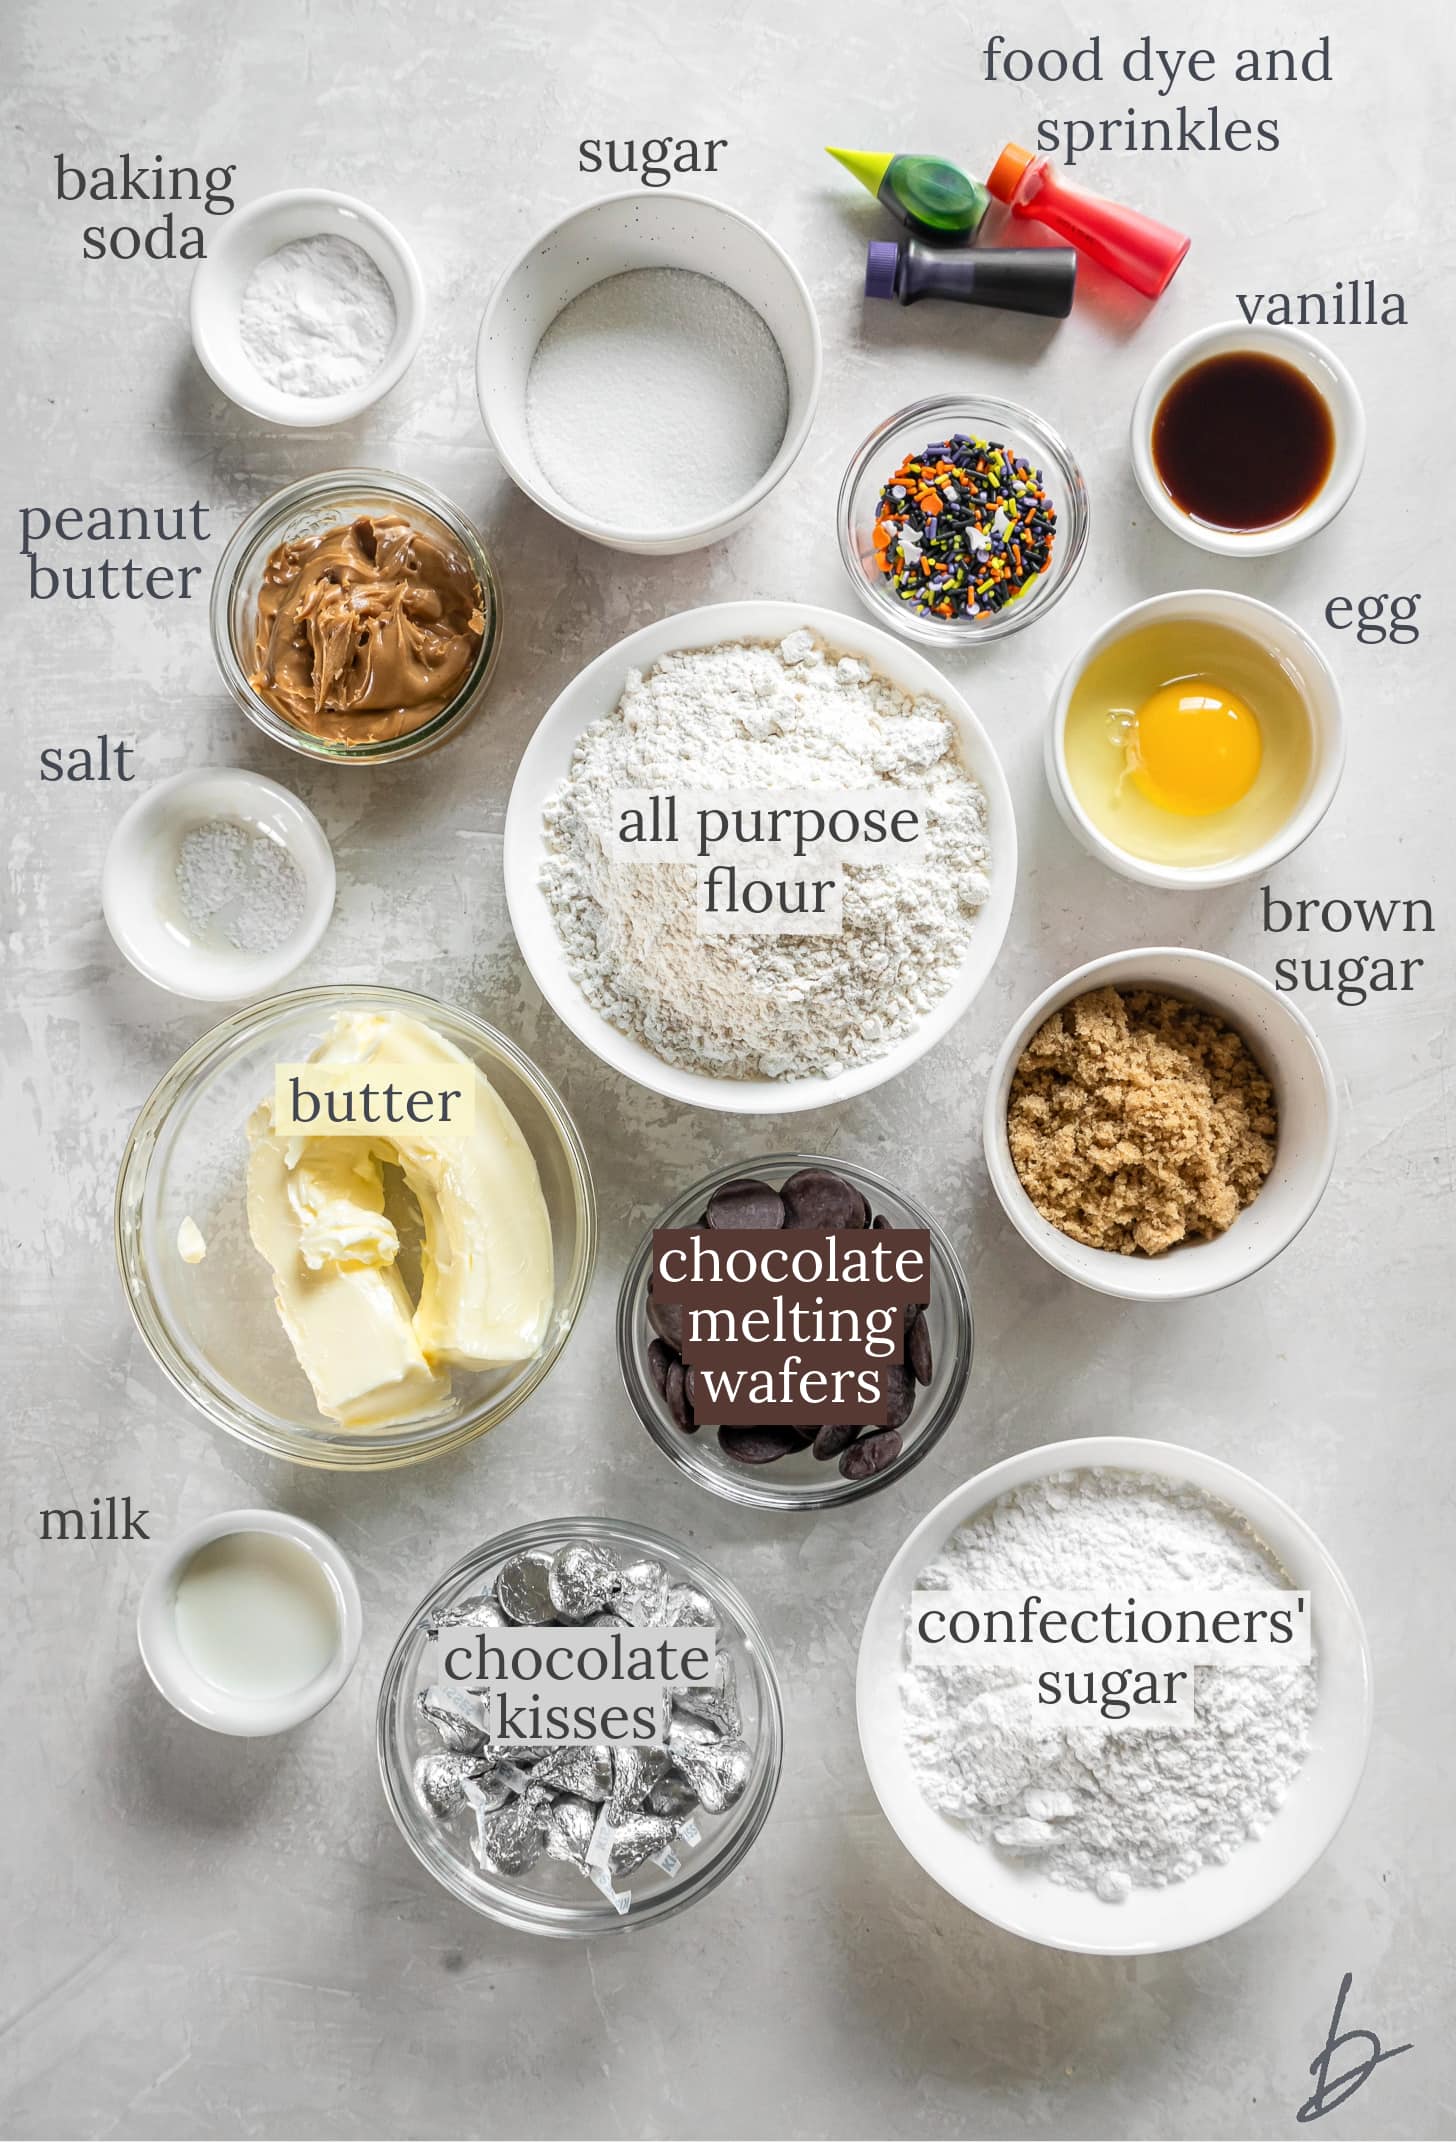
- Peanut butter: Choose a creamy, no-stir peanut butter. I prefer Skippy Natural.
- Butter: Use unsalted butter that is at room temperature. Salt is added separately to activate the baking soda.
- Chocolate melting wafers: I highly suggest using these. They will melt quickly and evenly on the warm cookies out of the oven.
- Chocolate kisses: For the tip of the hat, press a chocolate kiss on top!
- Confectioners’ sugar: Also known as powdered sugar. this sweetens the buttercream frosting.
- Food dye: This is used to dye the frosting, which acts as the decorative hat band and adheres the chocolate kiss.
Refer to the recipe card for ingredient details and measurements.
Recipe Variations
Make chocolate cookies. Swap out 1/2 cup flour for 1/2 cup unsweetened cocoa powder. Whisk it in with the dry ingredients.
Use different flavored kisses. The caramel or dark chocolate kisses would taste delicious!
Try chocolate-dipped Bugles for the hat. If you want a little more character and texture for the hat, dip Bugles in chocolate, let them dry, then use the frosting to adhere them to the cookie.
Semi-homemade. Instead of making your own frosting, use store-bought! You can also use store-bought cookie dough mix if you prefer.
How to Make Witch Hat Cookies
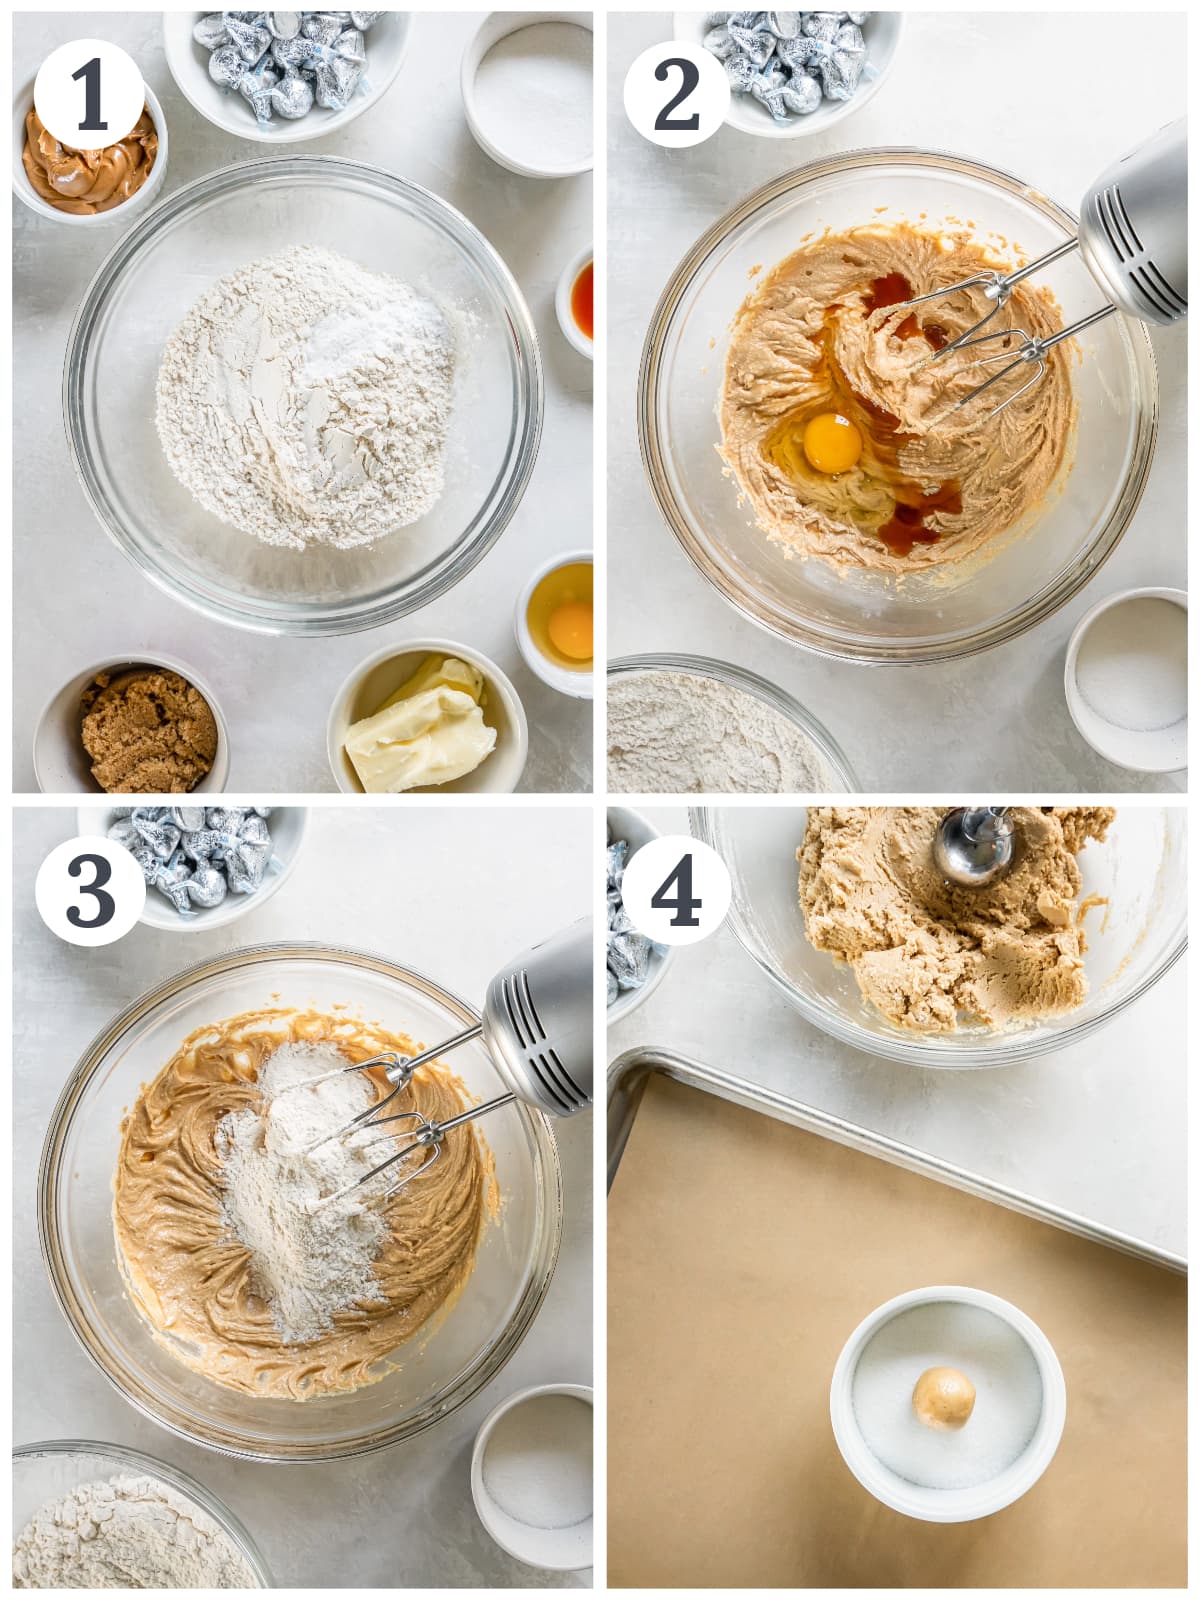
- Whisk together the dry ingredients: flour, baking soda and salt. Set aside.
- Beat peanut butter, butter, sugar and brown sugar until light and fluffy. Add the egg and vanilla, then mix until combined.
- Add the dry ingredients to the wet ingredients and mix just until combined.
- Scoop dough and roll into 1-inch balls. Roll each ball in sugar and place on a parchment-lined baking sheet. Bake at 350 F for 10 minutes.
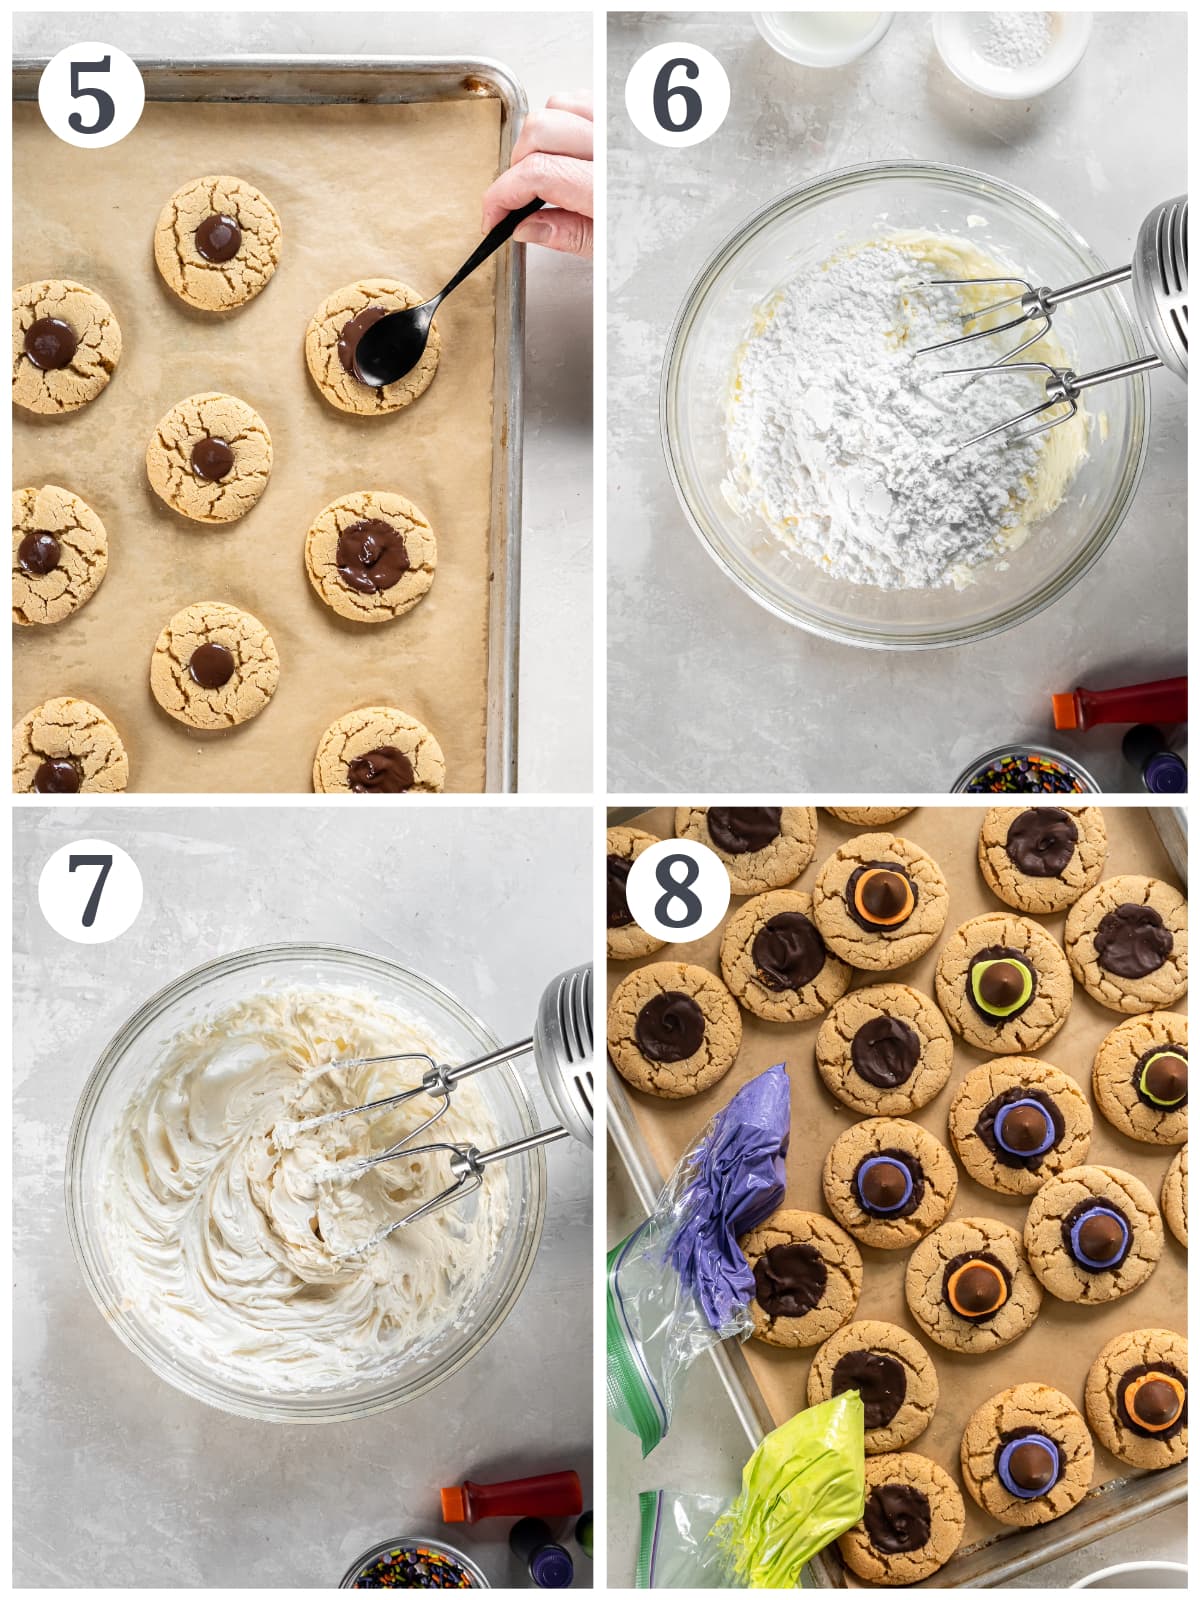
- As soon as the cookies come out of the oven, press a chocolate melting wafer on top. Allow it to melt and use the back of a spoon to spread if needed. Allow cookies to cool completely.
- Make buttercream frosting. Beat butter until smooth and creamy. Add confectioners’ sugar and mix until combined.
- Add vanilla, milk and pinch of salt. Mix until combined. Divide the frosting into three bowls and dye with different colors of gel food coloring. Transfer to frosting bags or ziptop bags with the corner cut.
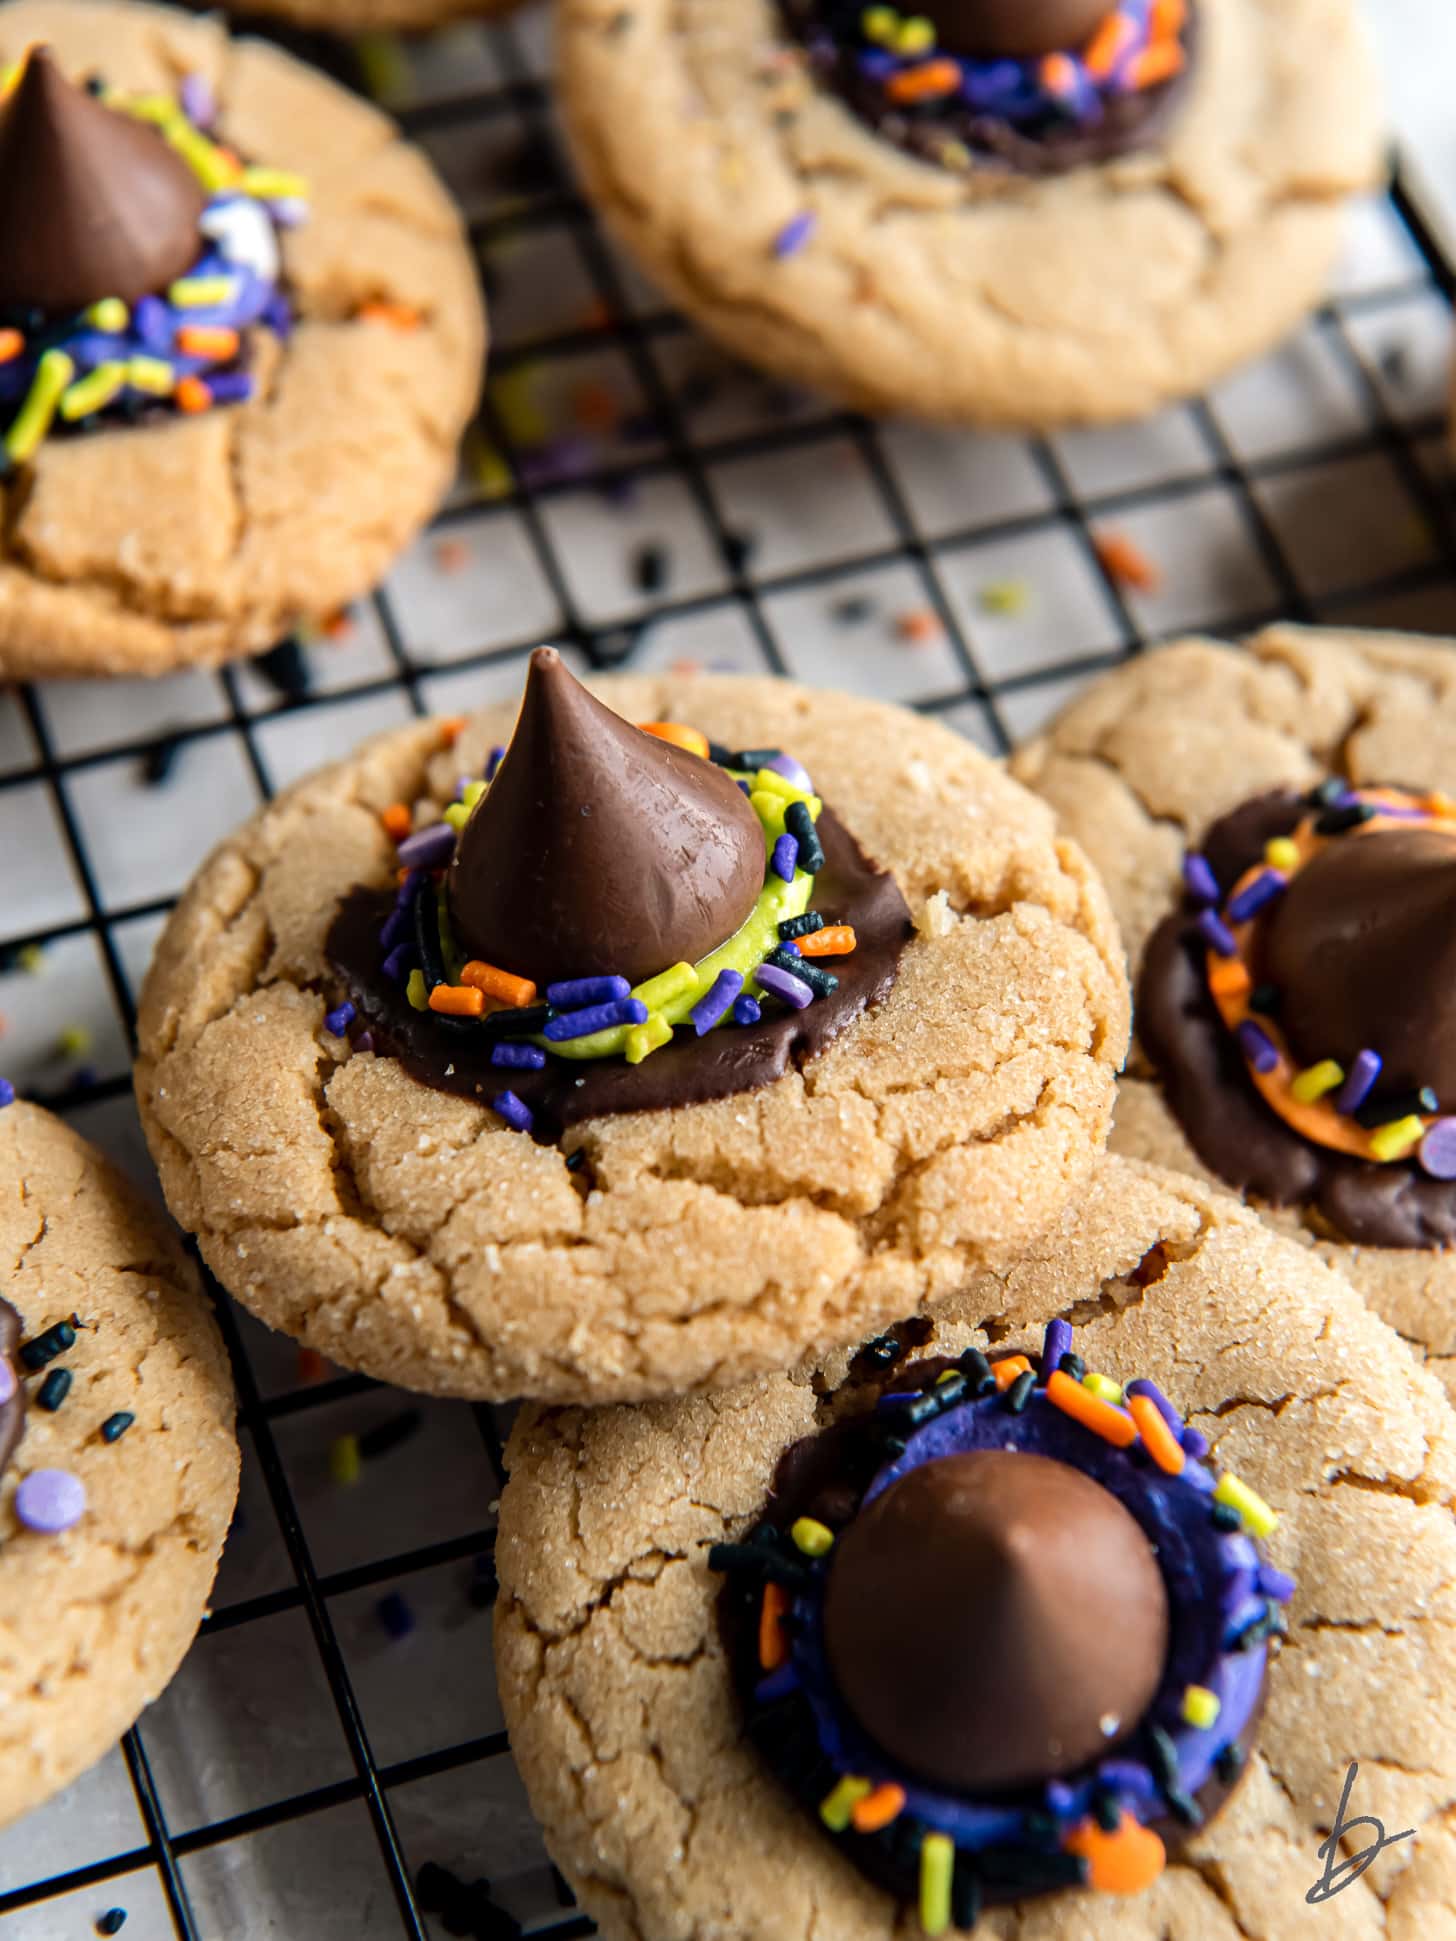
- Assemble hats. Pipe frosting on the bottom of one chocolate kiss. Press it on top of the harden chocolate on the cookie. Add sprinkles if desired. Repeat with remaining cookies.
Expert Tips
Choose the right ingredients. Make sure you’re using no-stir peanut butter. If you use peanut butter where the oil sits on top, the cookies will spread quite a bit. I also suggest using these chocolate melting wafers to make the brim of that hat and gel food coloring for the frosting. Liquid dye may thin out the frosting too much.
Weigh your ingredients with a scale. It’s much more accurate than using measuring cups. If you don’t have a scale, spoon the flour into a measuring cup and level with a knife (don’t pack it down).
Use room temperature ingredients. In order to get the right consistency for the dough, it’s vital that the butter and egg are room temperature. This will create a better textured cookie!
Let the cookies and chocolate cool completely before adding the hats. If the cookies are still warm, the frosting and chocolate kiss will melt.
Recipe FAQ
The butter or dough was too warm. This can happen if you are in a warm climate or your body heat warmed the dough when rolled into balls. Place the baking sheet with the cookie dough balls in the fridge for 20 minutes before baking to prevent this.
Yes, the dough may be stored covered in the refrigerator for up to 48 hours. Allow to sit at room temperature until soft enough to scoop.
Place them in an airtight container and store at room temperature for up to 1 week.
Yes, dough may be frozen for up to 3 months. Defrost in the refrigerator before scooping and baking.
Related Recipes
Looking for more spooky treats for Halloween? Try these next!
Did you love this recipe? Please leave a 5-star 🌟🌟🌟🌟🌟 rating in the recipe card below and if you REALLY loved it, consider leaving a comment further down the page.

Get the Recipe: Witch Hat Cookies
Ingredients
Cookies
- 1 ¾ cup (218 g) all-purpose flour
- 1 teaspoon baking soda
- ¼ teaspoon salt
- ½ cup (100 g) granulated sugar, plus more for rolling cookies in
- ½ cup (100 g) light brown sugar
- ½ cup (128 g) no-stir creamy peanut butter
- ½ cup (113 g or 1 stick) unsalted butter, room temperature
- 1 large egg, room temperature
- 1 teaspoon pure vanilla extract
- 30 chocolate melting wafers
Frosting
- ½ cup (113 g or 1 stick) unsalted butter, room temperature
- 1 ¼ cups (150 g) confectioners' sugar, sifted
- 1 teaspoons pure vanilla extract
- Pinch salt
- 1-2 Tablespoons heavy cream or whole milk, room temperature
- Gel food coloring, orange, purple, green
Decoration
- 30 chocolate kisses, unwrapped
- Sprinkles
Instructions
Cookies
- Preheat oven to 375º F. Line baking sheet with parchment paper and set aside.
- In a medium bowl, whisk together flour, baking soda and salt. Set aside.
- In the bowl of a stand mixer (or using a hand mixer and a large bowl), combine 1/2 cup granulated sugar, brown sugar, butter, and peanut butter. Beat until combined and fluffy, about 2 minutes. Scrape down the sides when necessary. Add egg and vanilla. Beating until mixed, about 30 seconds.
- With the mixer on low, slowly add the flour mixture and beat just until combined.
- Scoop a full tablespoon of dough and roll into 1 inch balls. Roll the cookie dough ball in the extra sugar and place on baking sheet. Press down slightly. Place balls 1 1/2 inches apart.
- Bake for 10 minutes, or until light golden brown, then remove from oven and immediately press a chocolate wafer on top. Allow it to melt from the heat of the cookie, then use the back of a spoon to spread it around slightly so it is wider than the bottom of a chocolate kiss. Transfer cookies to a wire rack to finish cooling and chocolate to harden.
Frosting and Decoration
- Make the frosting. In the bowl of a stand mixer (or using a hand mixer), beat the butter using the paddle attachment. Mix until creamy, about 2 minutes. With the mixer on low speed, gradually add in the confectioners' sugar until completely incorporated.
- With the mixer on medium speed, add the vanilla, one tablespoon heavy cream and a pinch of salt. Mix until combined. If a thinner consistency is needed, add another tablespoon of cream. For a thicker consistency, add more confectioners’ sugar.
- Divide frosting to mixing bowls and add one to two drops of gel food coloring to each bowl (orange, purple, green). Stir until combined adding more color if a richer hue is desired.
- Transfer frostings to separate frosting bags with round tips attached. Frost the bottom of the chocolate kiss and press it on top of the hardened chocolate wafer. There should be enough frosting for it to press out from under the kiss. Add sprinkles if desired and serve.

