Homemade Pie Crust with Butter and Shortening
Take your pie game to the next level with a fool-proof homemade pie crust. This pastry dough is easy to make from scratch and yields a double pie crust. The texture is perfectly flaky and buttery thanks to the use of both butter and shortening. This recipe is a guaranteed keeper!
When I first started baking, I used the pre-made crusts just out of pure convenience, but I quickly realized that while my pie filling met my taste standards, the crust did not. I attempted a homemade pie crust several times before I finally found the ideal one.
A good pie is nothing without an equally good crust. Buttery, flakey and sturdy are the three objectives here. All are easy to achieve with the right ingredients and proper steps. This homemade crust will work for any type of pie, but also recipes such as a peach galette or citrusy lemon tart.
Ingredient notes
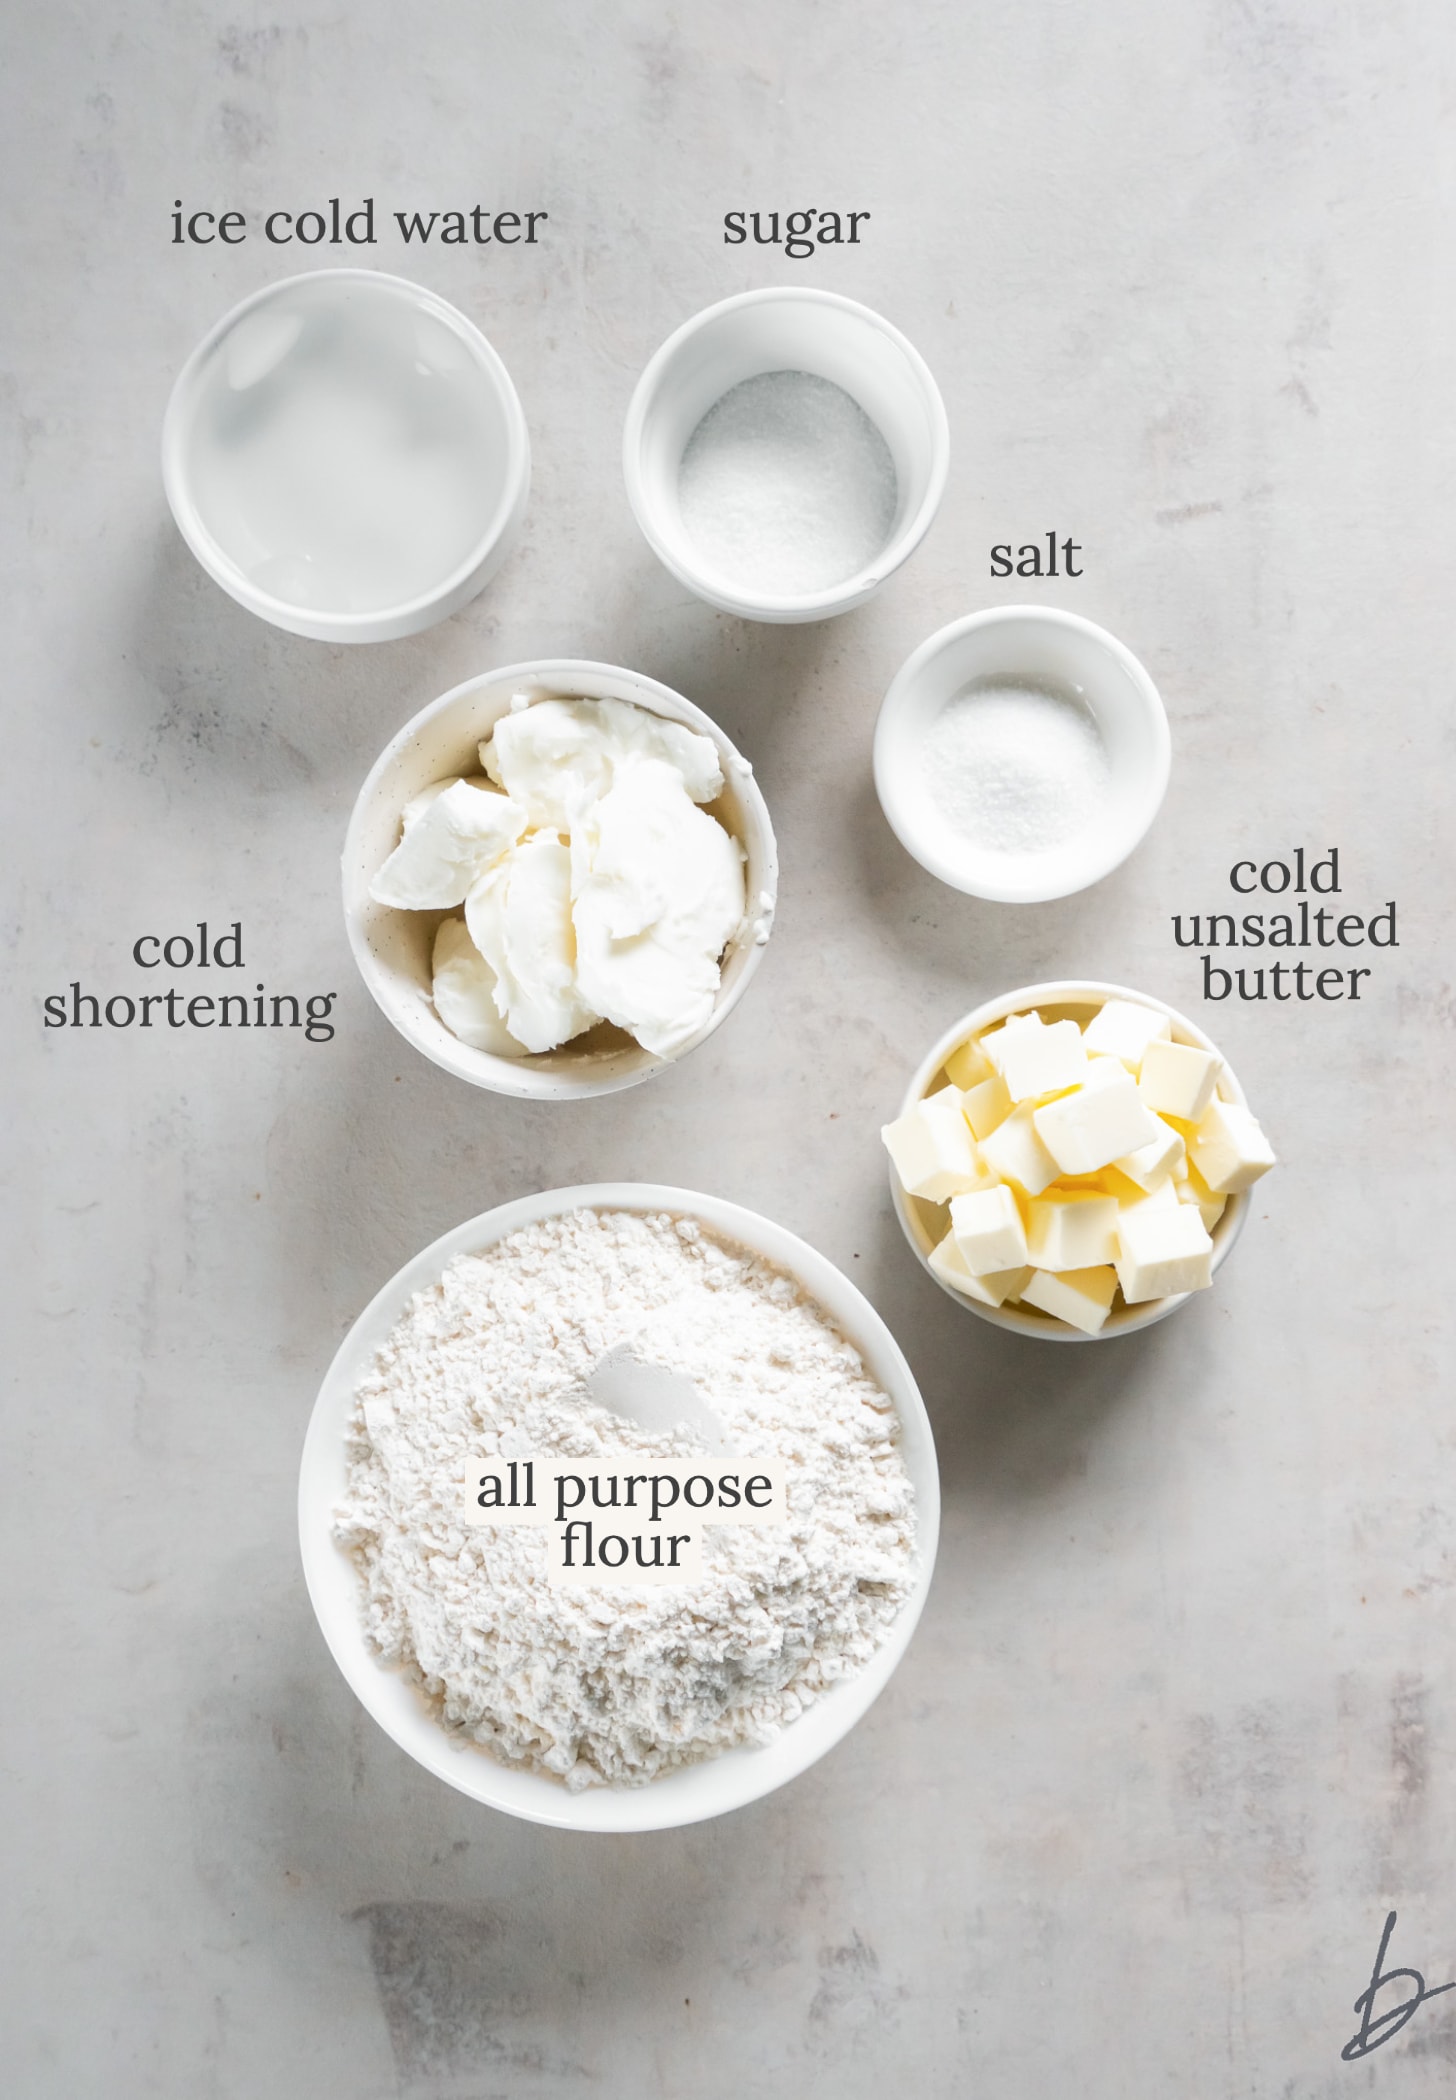
- Flour: Unbleached all-purpose is the way to go. It has high-protein content, which provides structure.
- Sugar adds a little extra flavor and creates that golden color. Only 2 tablespoons is needed though.
- Unsalted butter is necessary for flavor and it must be cold for the right texture.
- Shortening balances out the butter. It has a higher melting point that helps creates a flaky texture. This must also be cold.
- Ice cold water binds the ingredients together while keeping the dough chilled. Use only enough water to mold the ingredients together.
Recipe variations
If you prefer an all-butter crust, simply substitute the shortening with more butter. You could also use lard, which I prefer for more savory pies.
A popular tactic for guaranteeing flaky crust is using vodka or vinegar (it prevents the gluten from forming). If you want to try this, substitute 2 tablespoons ice water with 2 tablespoons chilled vodka.
How to make homemade pie crust
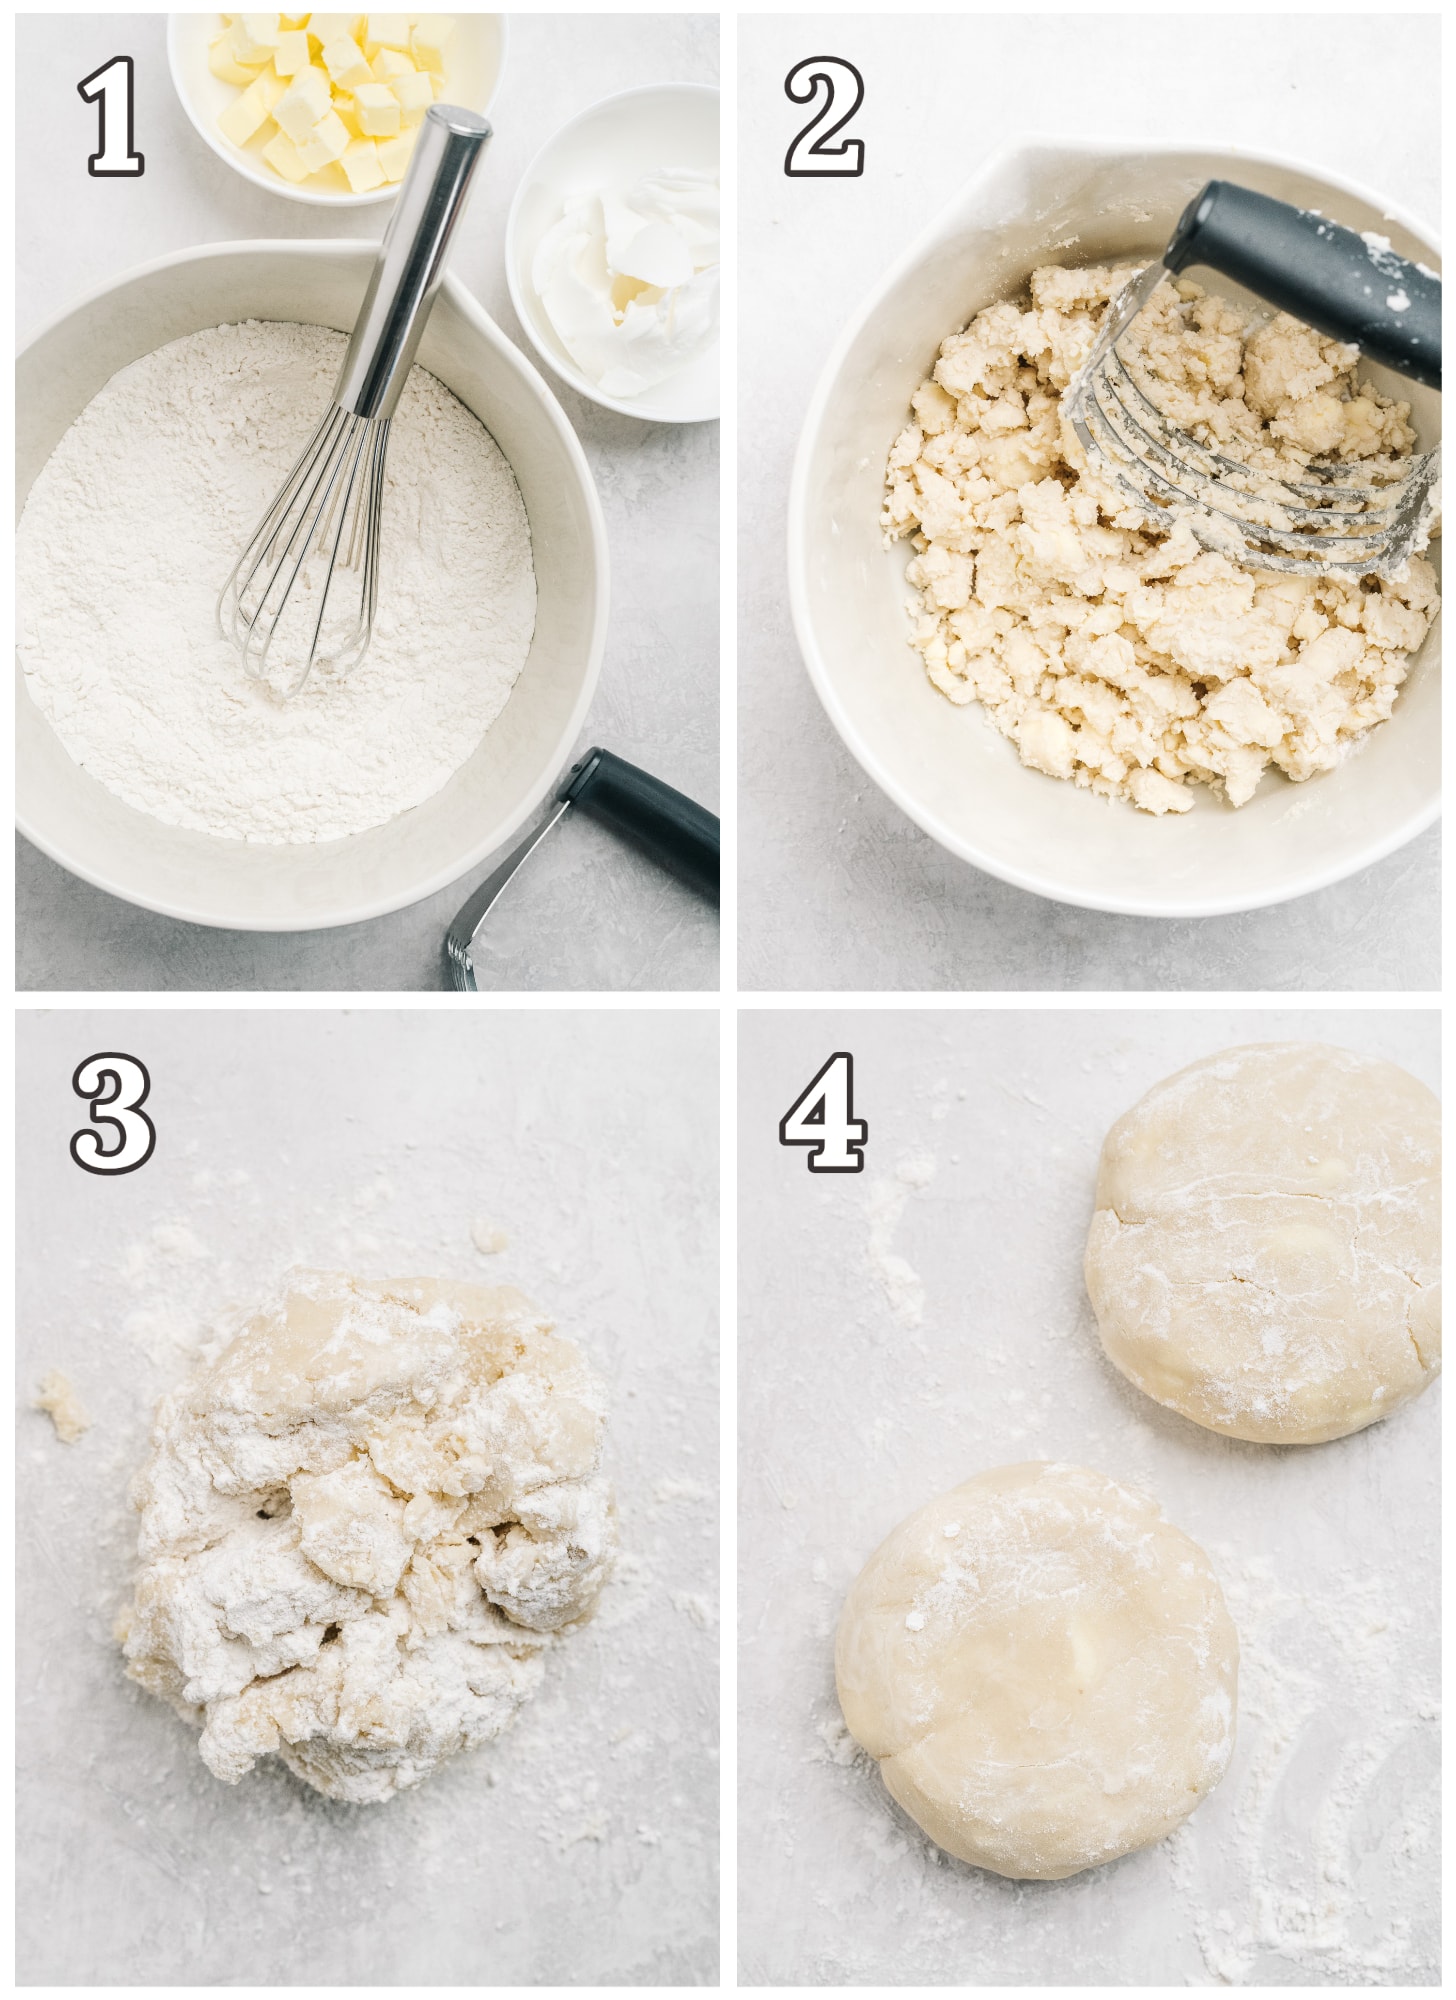
- Whisk the dry ingredients together. Place the flour, sugar and salt in a bowl and whisk together.
- Cut the shortening, then the butter into the flour mixture. A pastry cutter works well, but so do two knives or a food processor if you’re in a pinch. The mixture will have crumbs the size of small peas.
- Sprinkle ice cold water into the mixture. Use a silicone spatula to stir the mixture together just until large clumps form. Only use enough water to help the dough come together.
- Use your hands to push the dough into a large ball. Separate into two balls and press into two equally sized discs. Avoid overworking the dough.
- Wrap the discs separately in plastic wrap and chill until ready to use.
Expert tips
A few tips before you start… Make sure the butter and shortening are really cold. In fact, put all your ingredients and the bowl in the fridge for 30 minutes before starting if you want to be really professional.
You want to keep the dough as cool as possible because warmth furthers the development of gluten, which results in a tough dough that is difficult to roll out. Also, the cold butter will melt in the oven separating the crust into flaky layers. If the butter is warm and melted into the dough then this won’t happen!
So handle the dough with your hands as little as possible. Also, use just enough water so the ingredients hold together. Avoid adding too much water and then adding flour, which would result in a tough pie crust.
How to roll pie dough
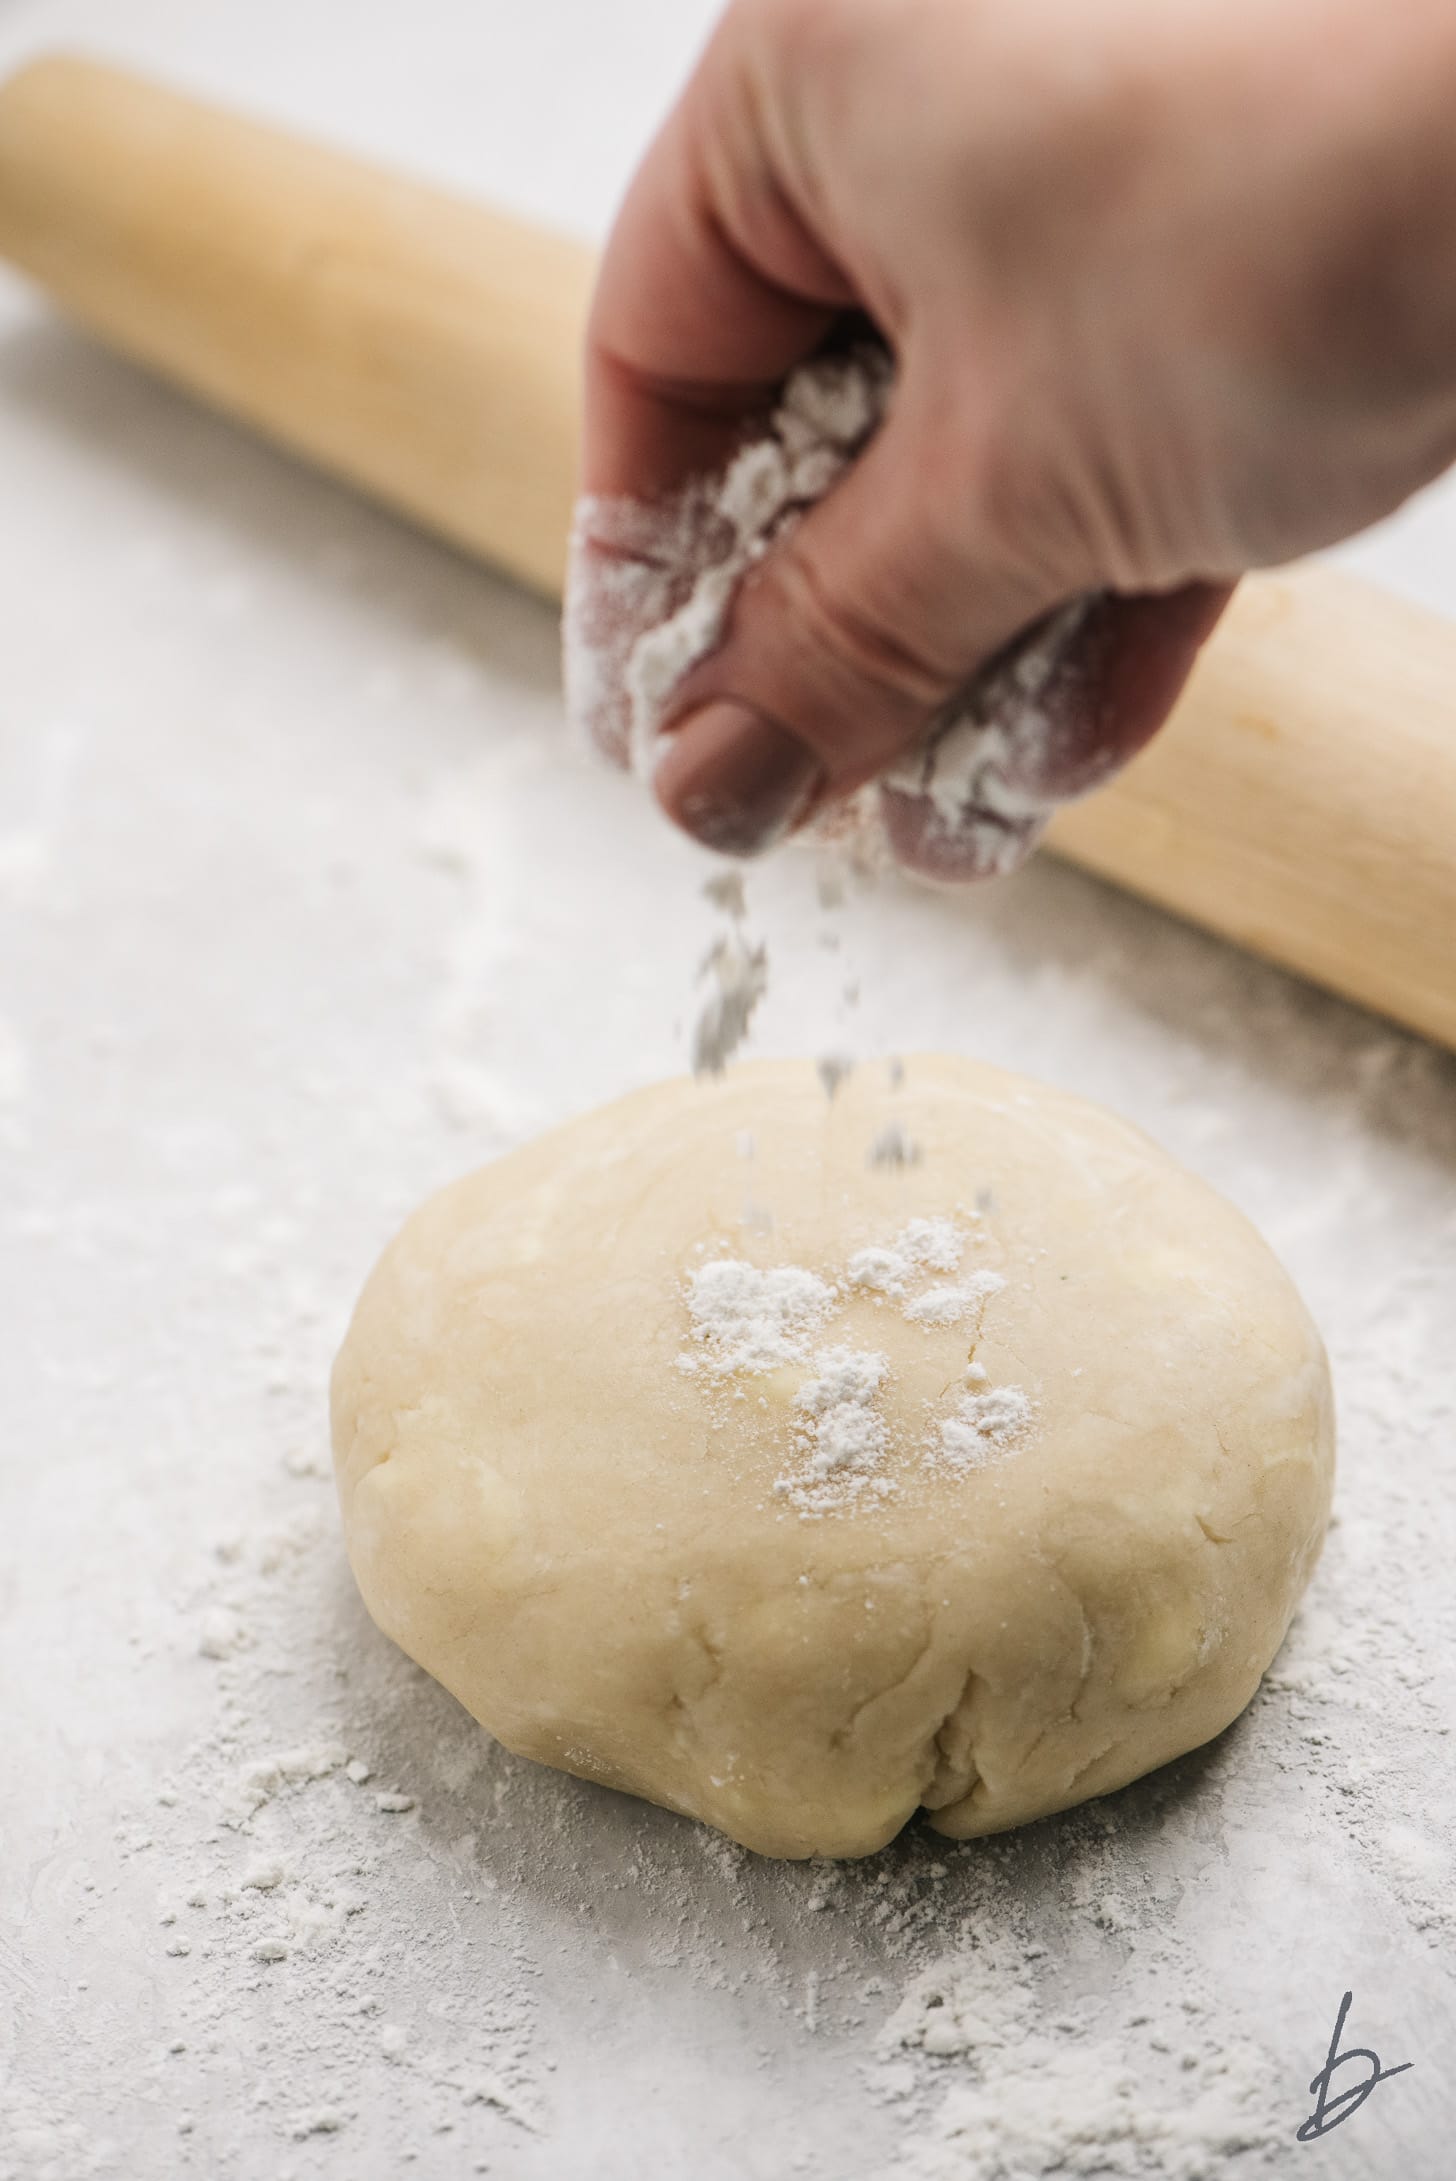
Flour your work surface and rolling pin. This helps prevent the dough from sticking to your work surface. When the dough gets sticky, lift it and sprinkle flour underneath (especially in the center) to prevent it from sticking to the work surface. Sprinkle flour on top when necessary too.
Rotate the dough after every couple rolls to help it form a circular shape. Roll until it is a little less than 1/4-inch thick. Place pie plate on top of the dough to make sure it is the right size. It should be about 12 inches in diameter for a standard 9-inch pie plate.
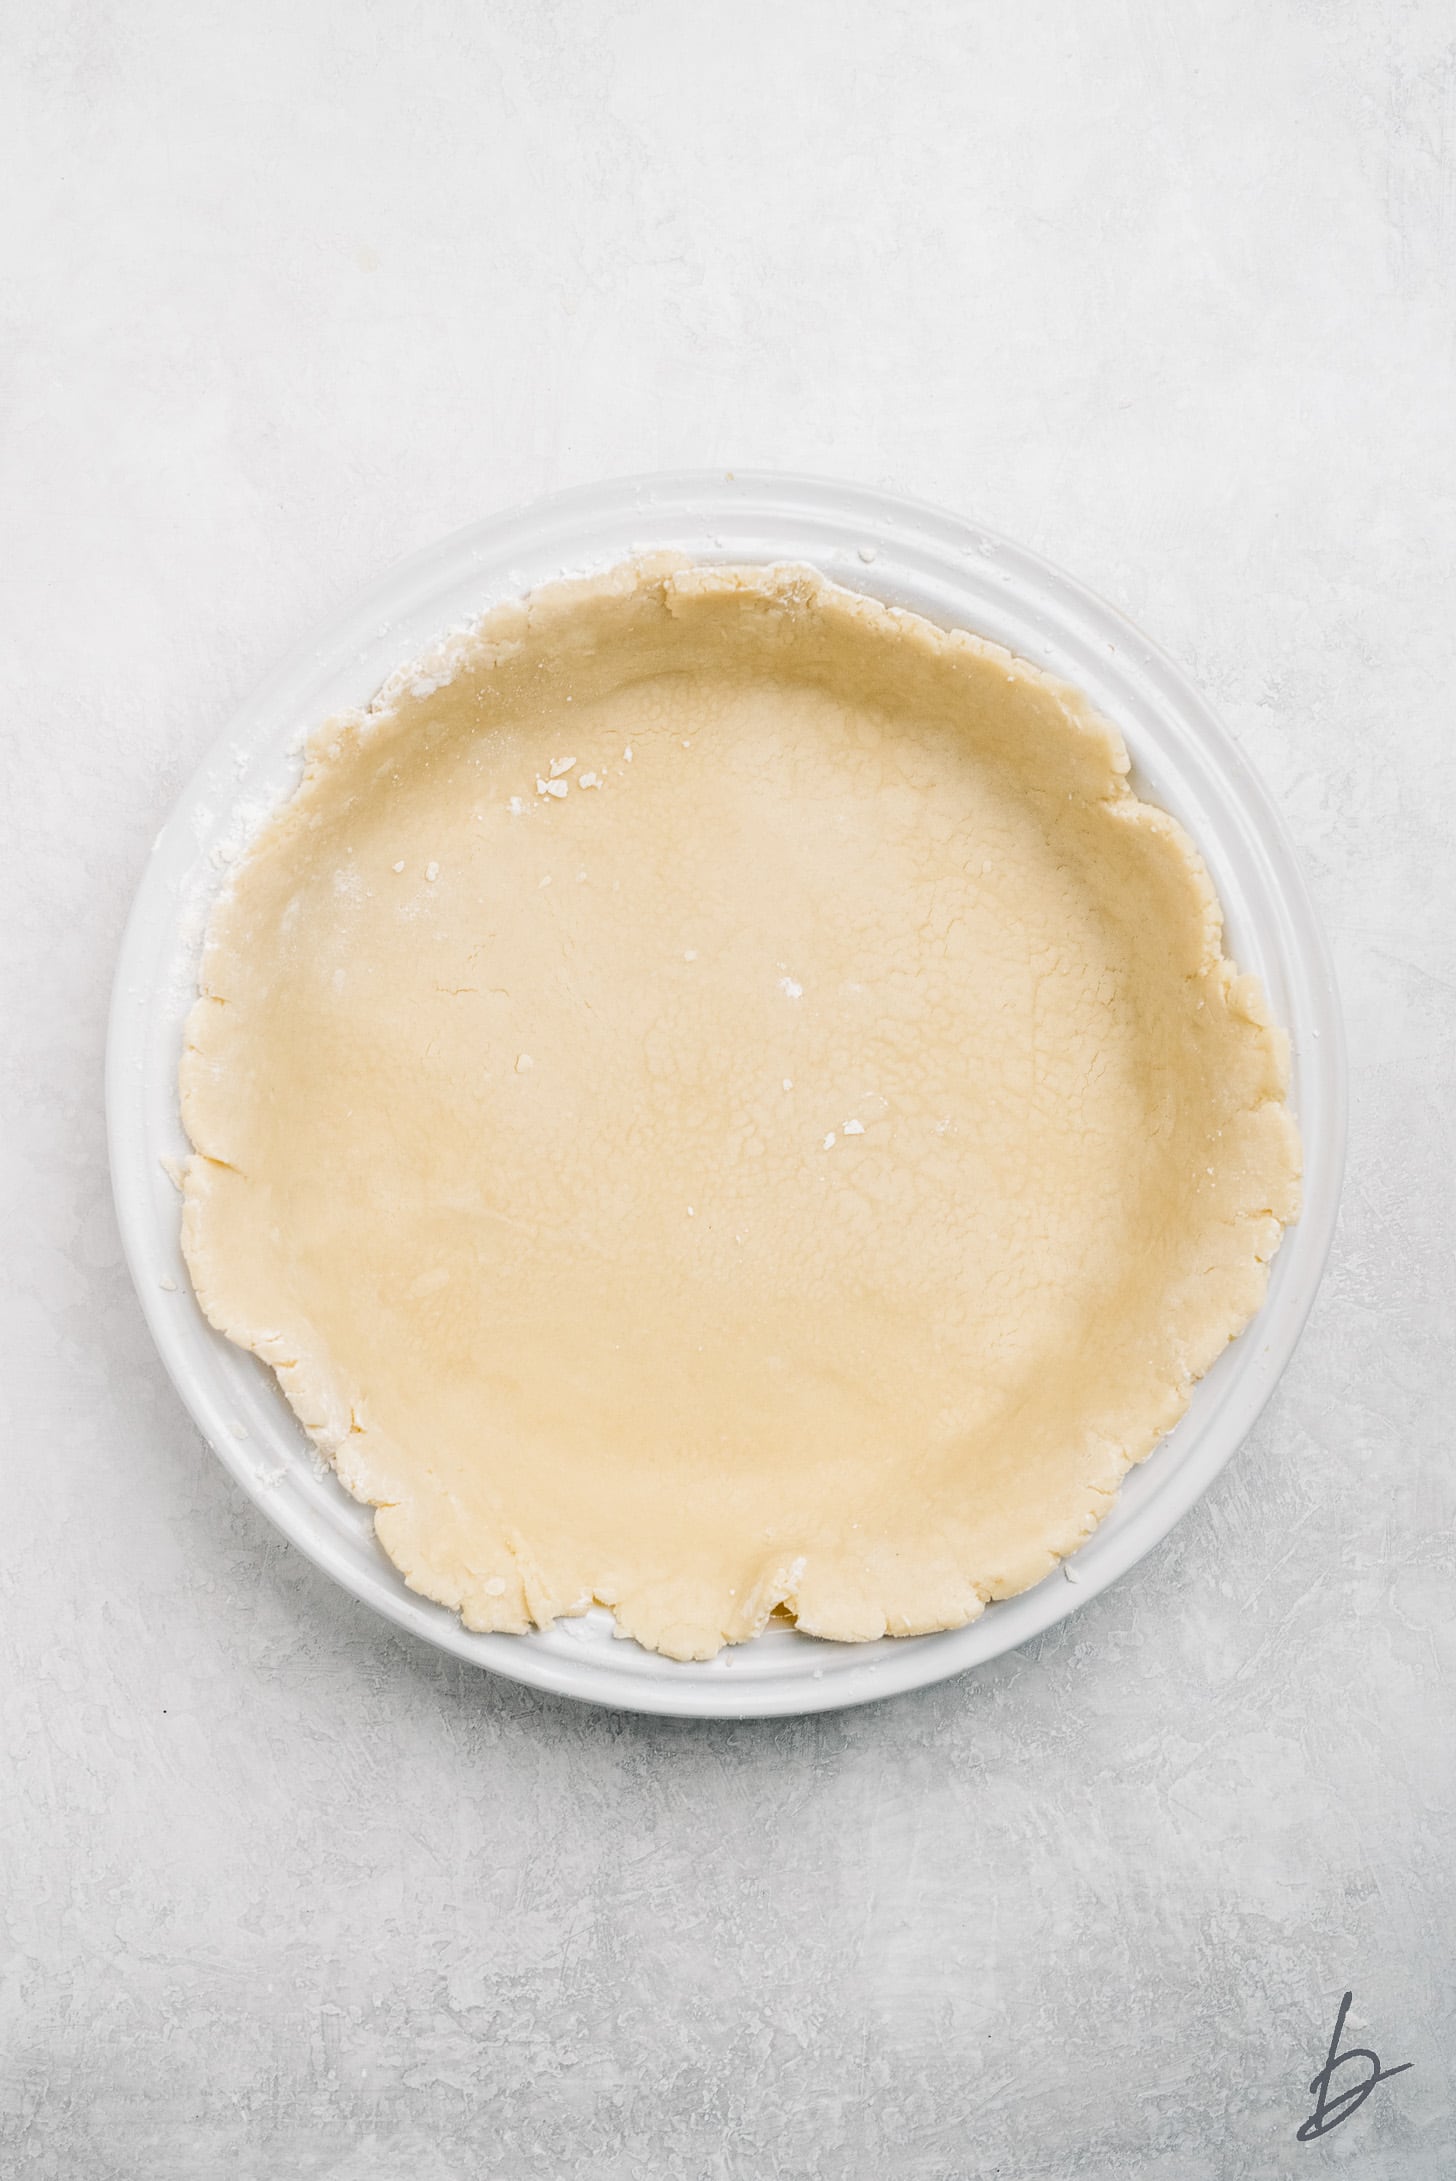
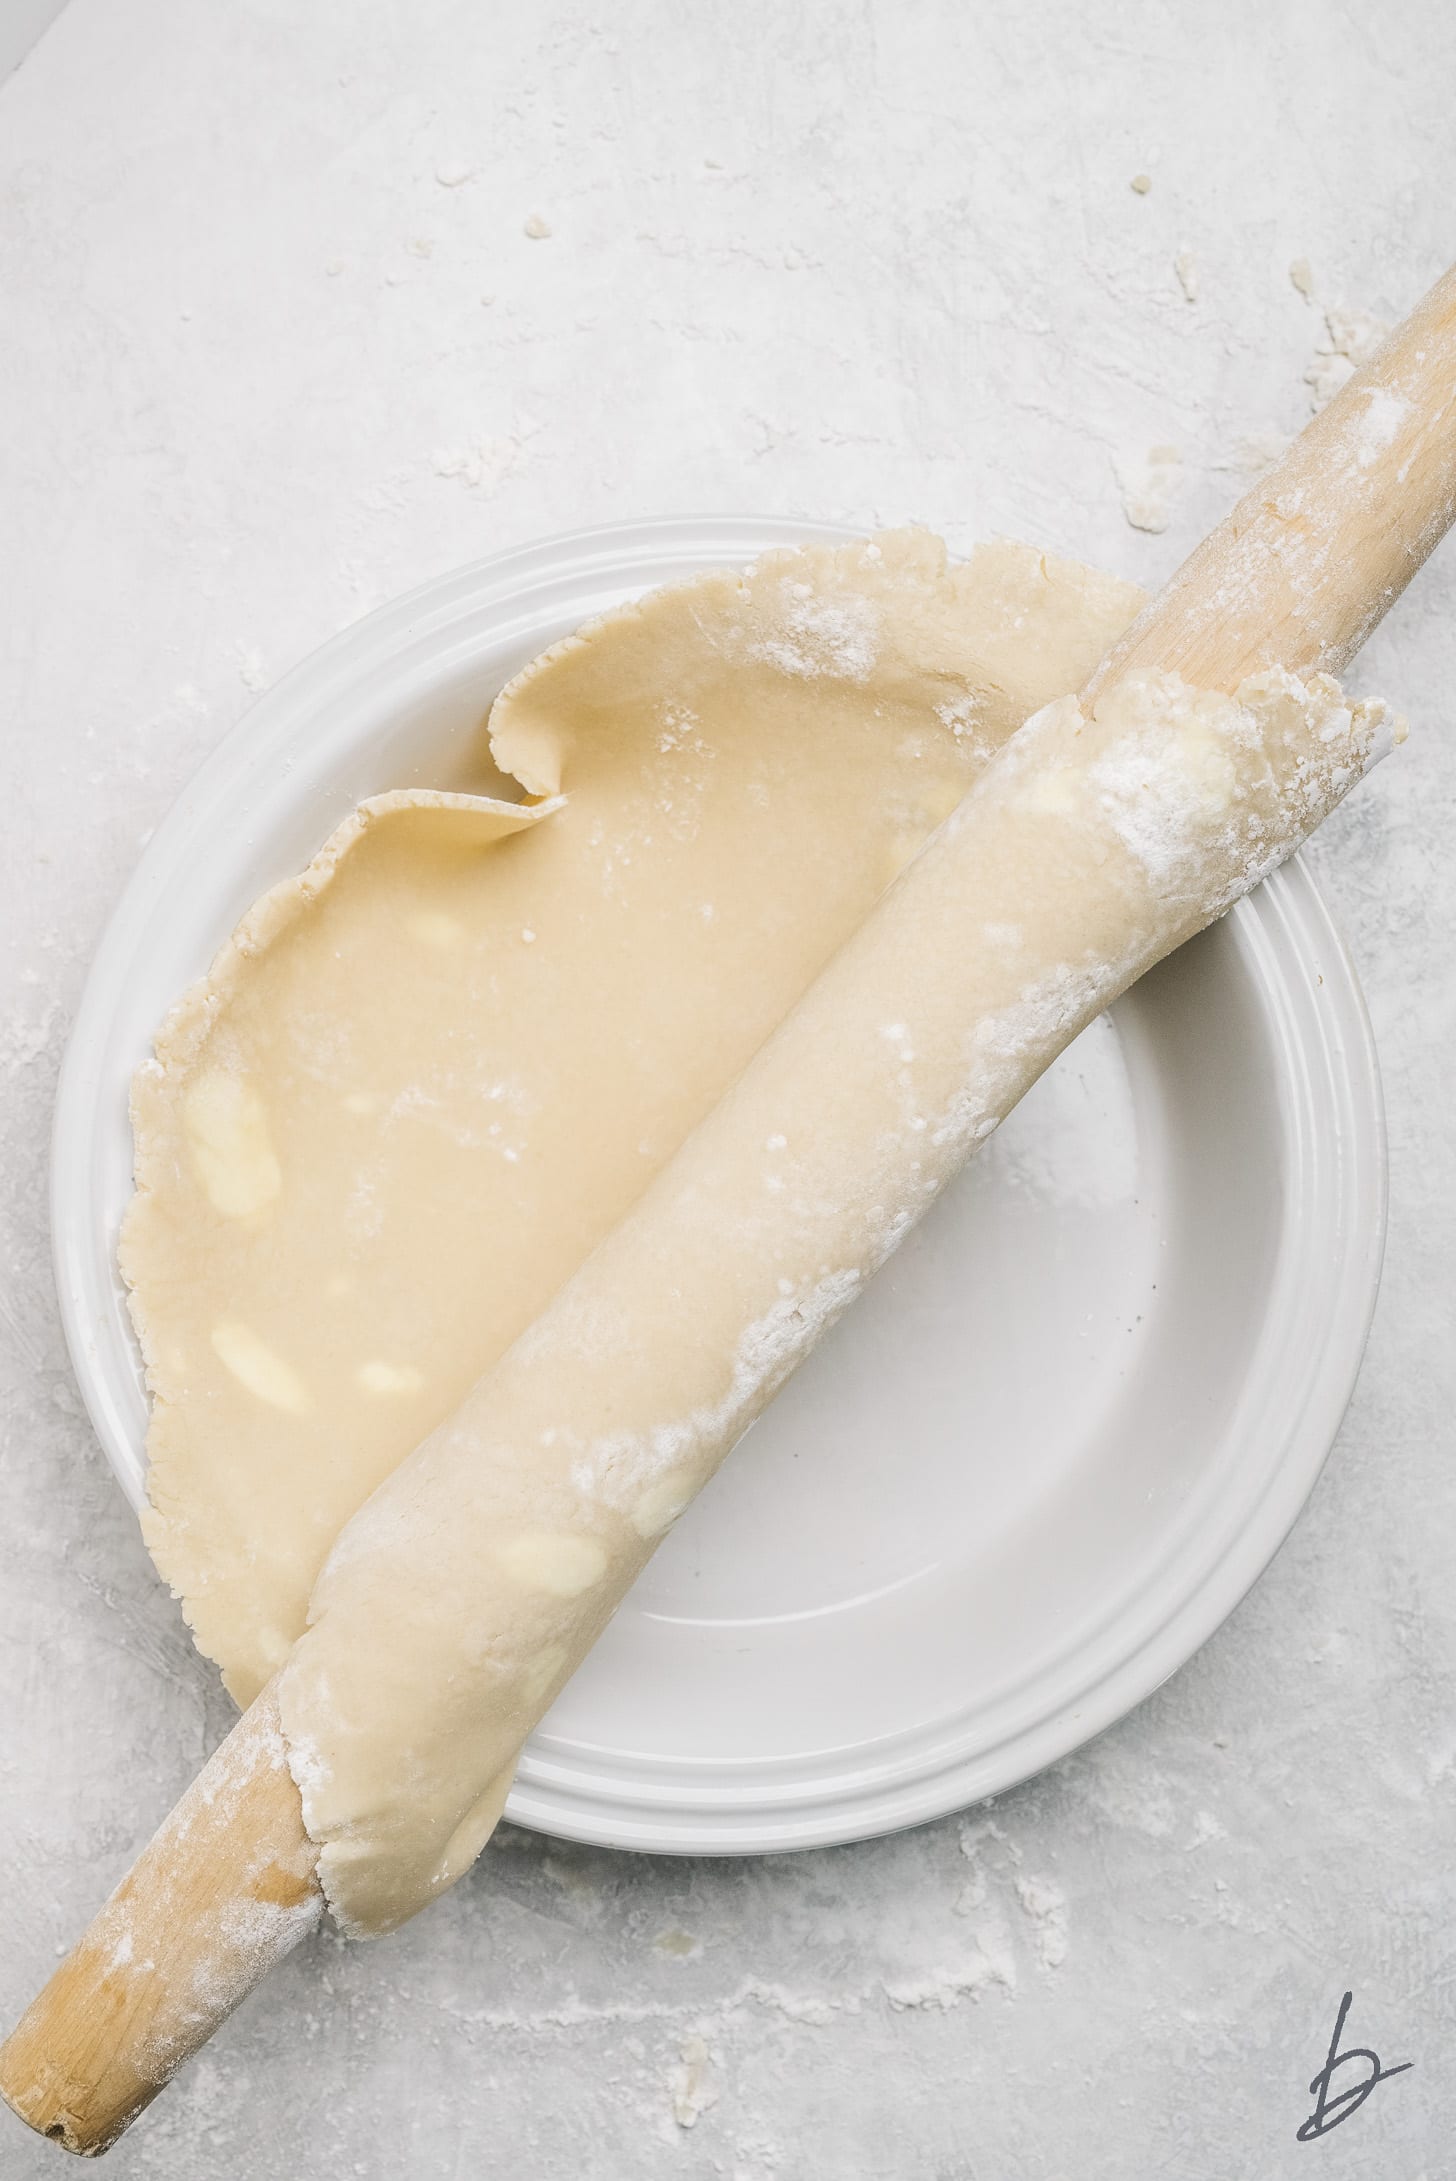
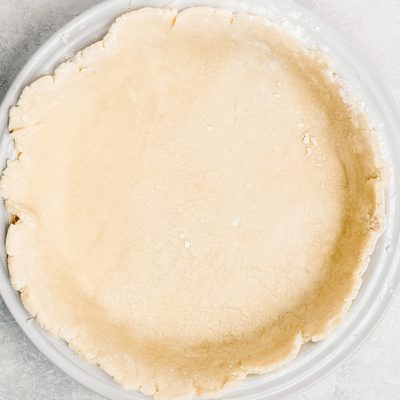
Use the rolling pin to help transfer the dough to the pie plate (see photos). After gently pressing it into the bottoms and sides of the plate, trim the edges and flute it using your fingers or crimp using a fork.
Make ahead tips
Pie crust may be kept in the refrigerator for up to 3 days or in the freezer for up to 3 months. Defrost in the refrigerator overnight before using in your recipe. If the dough has been in the refrigerator for a while, let is rest at room temperature just long enough to make it malleable, but still cool to the touch.
After rolling the dough and placing it in the pie plate, put the plate in the refrigerator until you are ready to add the filling and the oven is preheated. Have I said enough how it important is it for everything to be cold??
Frequently Asked Questions
There is too much fat. Reduce butter or shortening by 1 tablespoon until desired texture is reached.
Most likely the dough was overworked. Another scenario is too much water was added and then flour to compensate for the extra moisture. Unfortunately you can’t do much to fix it at this point, but try again!
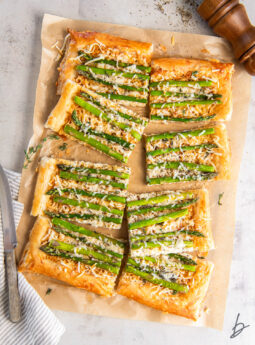
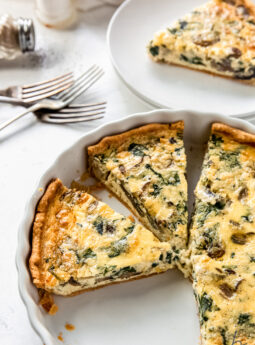
Yes, I often do this if I’m making a dish with just a bottom crust, such as quiche lorraine or tomato galette.
Yes, use the pulse setting and cut the shortening and butter in one second pulses just until pea size crumbles form.
Related recipes
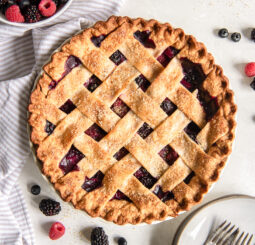
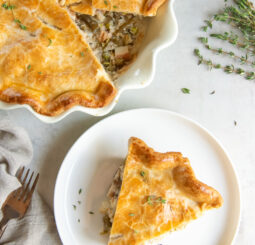
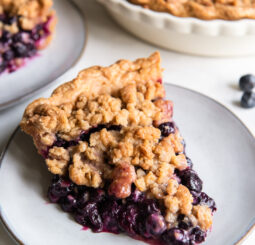
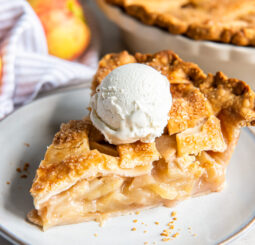
Now that you’ve perfected the crust, it’s time to make pie! Here are a few of my favorites.
Did you love this recipe? Please leave a 5-star 🌟🌟🌟🌟🌟 rating in the recipe card below and if you REALLY loved it, consider leaving a comment further down the page.
Get the Recipe: Homemade Pie Crust
Ingredients
- 2 ½ cups (312 g) unbleached all-purpose flour, plus extra for dusting work surface
- 1 teaspoon salt
- 2 tablespoons (25 g) granulated sugar
- ⅔ cup (126 g) vegetable shortening, chilled and cut into 1/4-inch cubes
- 6 Tablespoons (85 g) unsalted butter, chilled and cut into 1/4-inch cubes
- 4 to 8 tablespoons ice water
Instructions
- In a large bowl, whisk together flour, salt and sugar. Add the chilled shortening and using a pastry cutter, or two forks, cut the shortening into the flour mixture until it resembles coarse sand. Next, add the cold butter cubes and cut the butter into the mixture until it resembles coarse crumbs, with bits about the size of small peas. If there are a few larger bits, it's okay (that bite of pie will be extra good).
- Sprinkle the ice-cold water, one tablespoon at a time, into the bowl. With a rubber spatula, use a folding motion to mix. Once large clumps start to form, do not add any more water. I typically use about 6 tablespoons.
- With your hands, form the dough into a large ball and transfer to a lightly floured work surface. Divide the dough into two equally-sized disks, about 6 inches in diameter.
- Tightly wrap the discs separately in plastic wrap and refrigerate for at least 1 hour or up to 3 days.
- Remove one pie dough from the refrigerator. If necessary, let it sit until it's malleable, but still cool to the touch. Unwrap the dough and place it on a floured work surface. Sprinkle a little flour on top of the dough and on your rolling pin.
- With medium pressure, use your rolling pin to roll out the dough. Turn it every few rolls so it starts to form a circle. If it starts to get sticky, sprinkle a little flour on top and lift the dough to sprinkle some underneath (especially in the center). Once it is 12 inches in diameter, wrap the dough around the rolling pin and transfer it to a 9-inch pie plate.
- Gently press the dough into the bottoms and sides of the pie plate. Trim any excess dough, leaving a little to hang off the edges. Flute the edges with your fingers or crimp it with a fork. Use as directed in your recipe. Keep second pie dough in the refrigerator until it's needed for a top crust or another recipe.
Notes
- Use cold ingredients. I put my flour in the refrigerator for 10 minutes as well.
- Avoid overworking the dough. Gluten will start forming in the flour and the butter will melt. This will result in a tough pie crust.
- Use ice cold water. Put ice in a cup of water and stir it around until the ice melts. Measure your water 1 tablespoon at a time, stirring after each addition, when adding to the ingredients.
References: Martha Stewart and Baking Illustrated. | Photography by Our Salty Kitchen.

