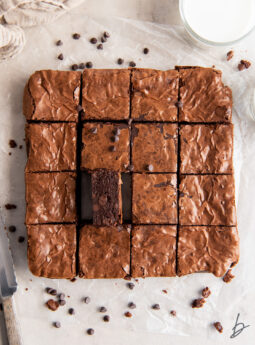
Red Velvet Whoopie Pies with Cream Cheese Filling
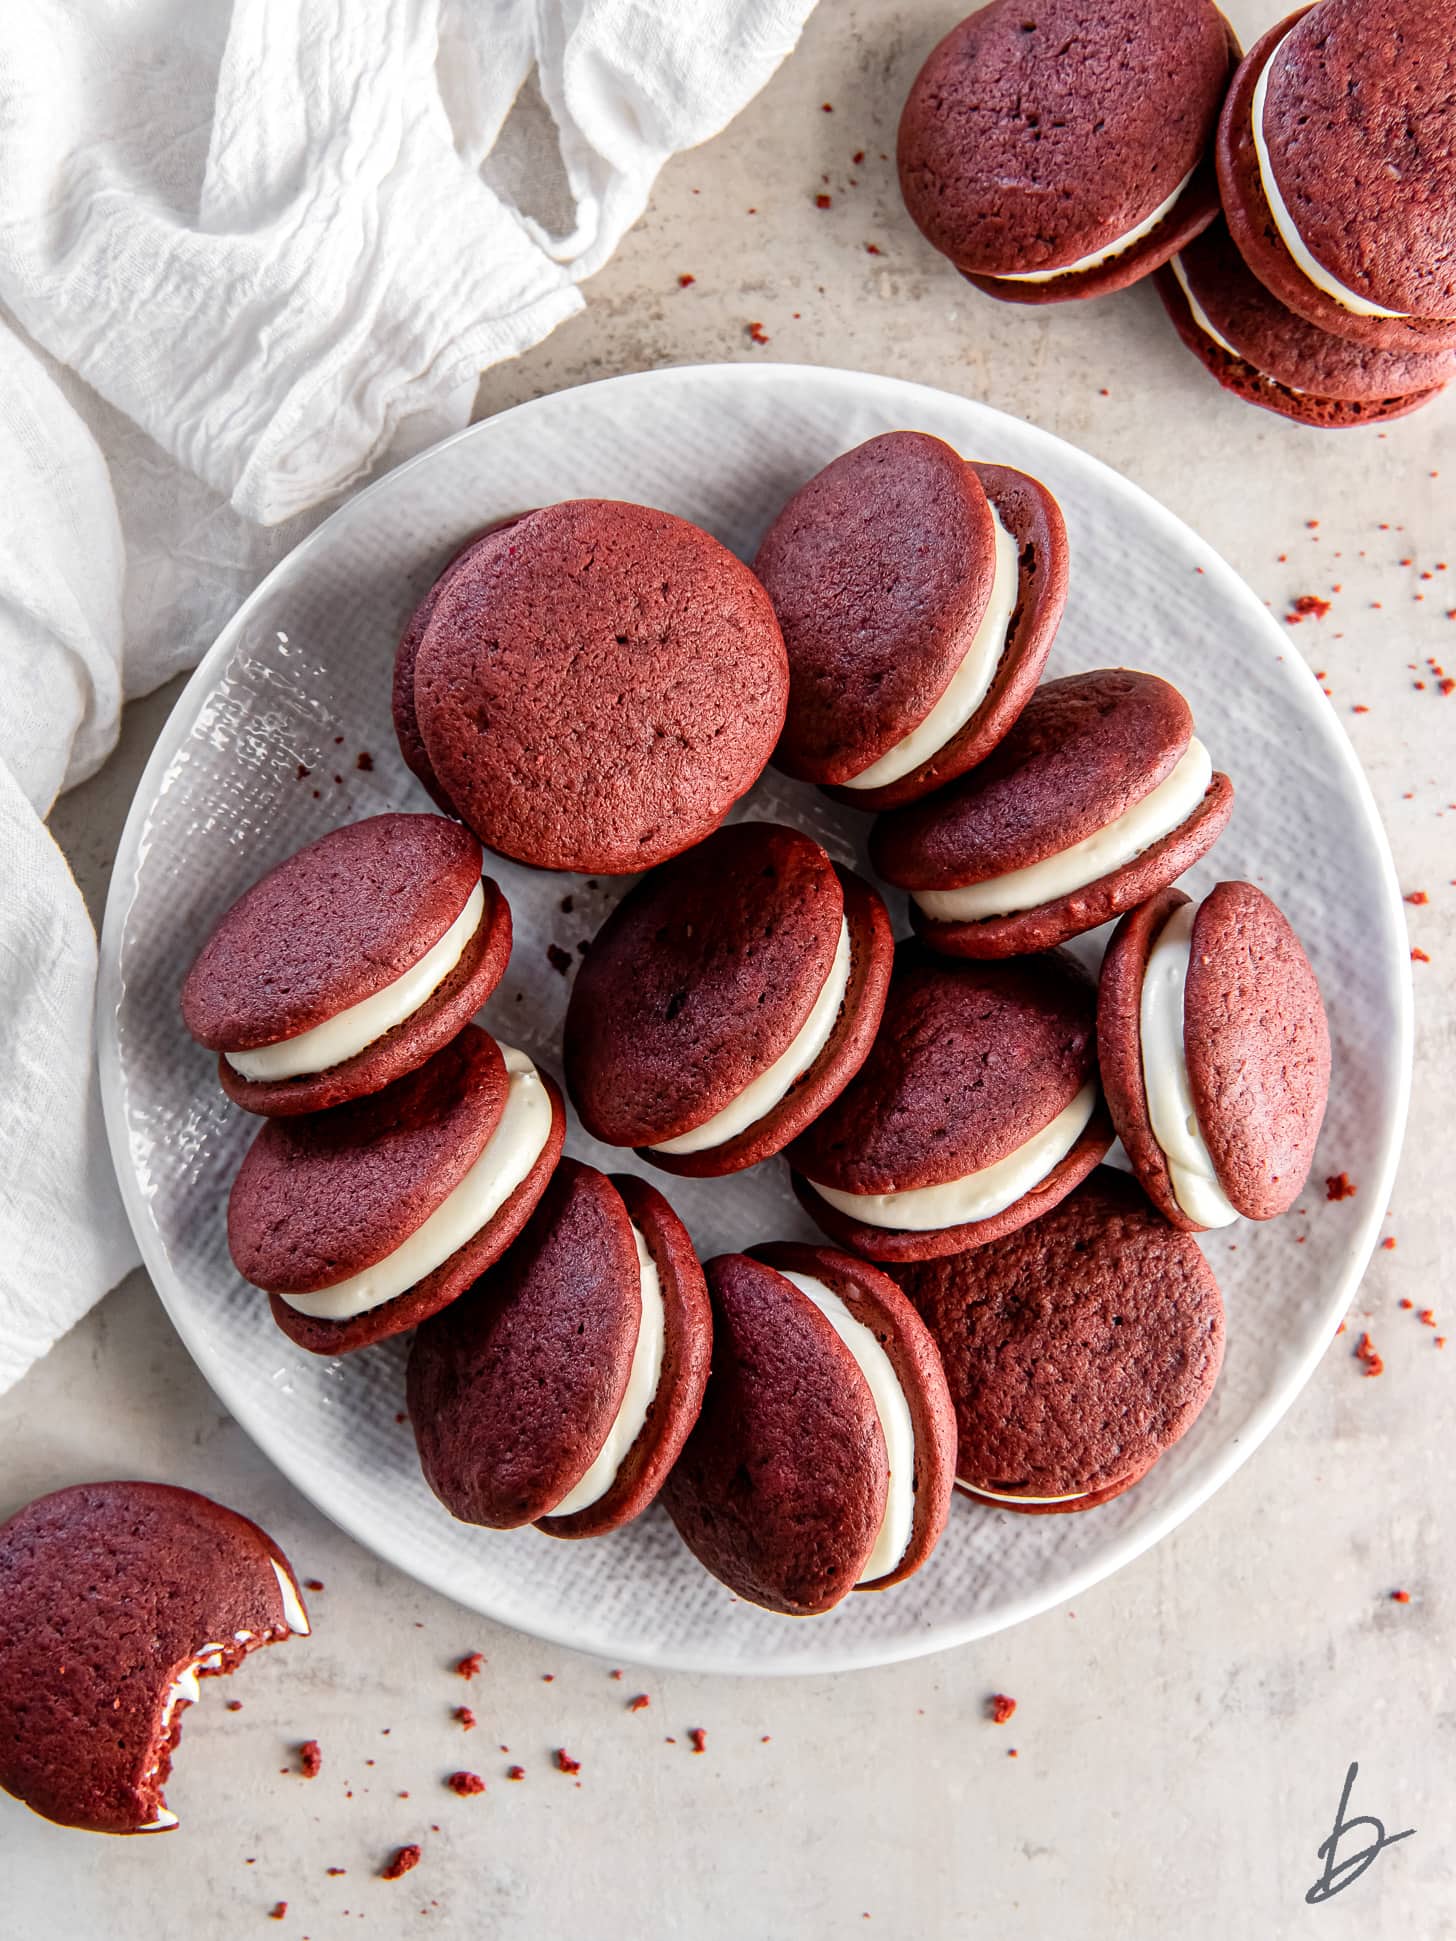
Pillowy soft and perfectly moist, homemade red velvet whoopie pies are the ideal dessert for Valentine’s Day! These little cake-like cookies are sandwiched with cream cheese filling. They taste just like red velvet cupcakes!

Whoopie pies (aka “gobs”) are half cookie, half cake and totally delicious. I love creating different variations for each holiday because they are the perfect handheld dessert to serve when entertaining! Thanksgiving calls for pumpkin whoopie pies while this gingerbread version is popular for Christmas. It only makes sense to bake red velvet whoopie pies for Valentine’s Day!
Why You’ll Love This Recipe
- Handheld dessert. No plates or utensils needed here! Just pass them sandwiches around for everyone to enjoy.
- Amazing texture. Super soft cookies against a velvety smooth cream cheese filling is incredibly satisfying to bite into.
- Balanced flavor. The cakes are sweet and slightly chocolatey, which pairs well with the subtle tangy flavor provided by the rich cream cheese filling.
- Easier and quicker than cake. The active prep time is less than 30 minutes! After letting the cookies cool, they are ready to eat in under an hour.
- Perfect for Valentine’s Day and Christmas. The gorgeous red hue is fitting for the holidays! Bake a batch to take to work or share with friends.
Ingredient Notes
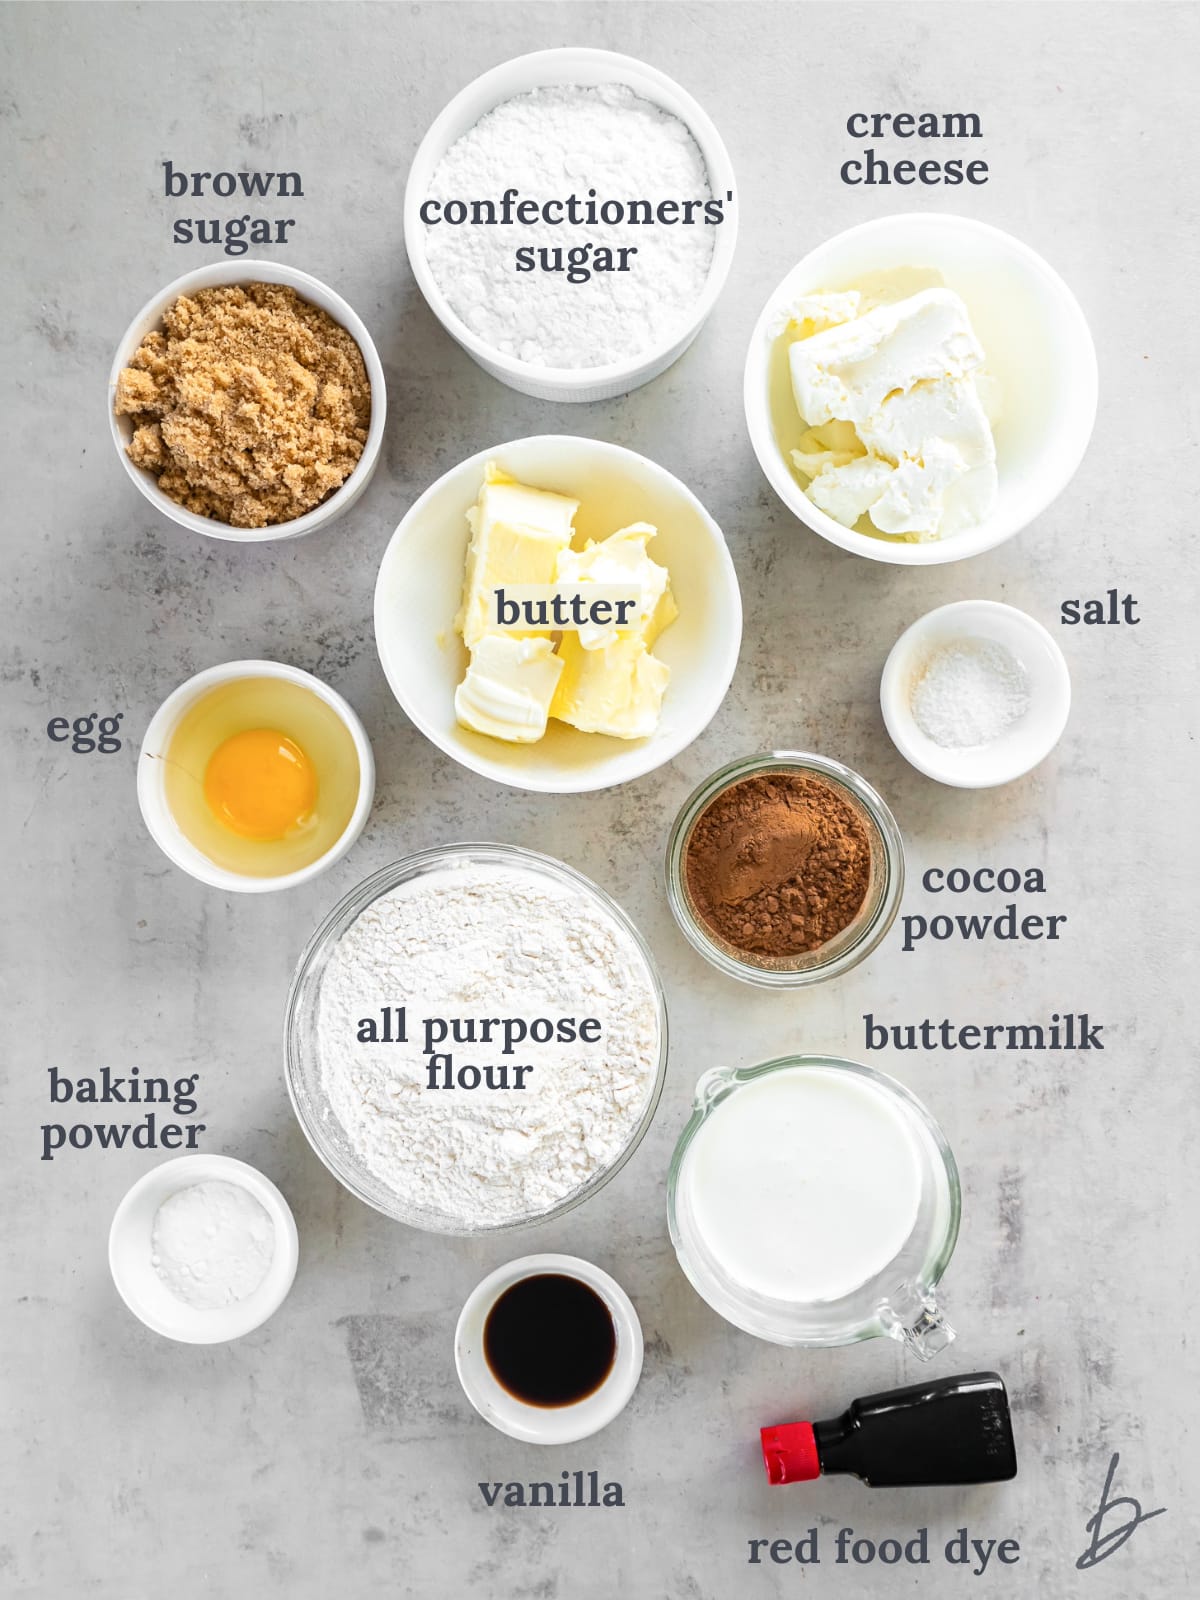
- Red food dye: I recommend gel dye since it has a stronger and more concentrated hue. If using liquid, double the measurement.
- Cocoa powder: Use unsweetened cocoa powder for a subtle chocolate taste.
- Baking soda: This leavening agent helps the pies rise and spread. Check that it’s not expired for best results.
- Butter: Unsalted butter at room temperature creates a moist texture and rich taste.
- Brown sugar: This also aids in moisture while providing a slight chewy texture.
- Buttermilk: For extra fluffy whoopie pies, I always use buttermilk! Bring to room temperature before adding to the batter.
- Cream cheese: Use block-style cream cheese for the filling. It’s thicker than the kind from the tub and less likely to melt.
- Confectioners’ sugar: Also known as powdered sugar, this ingredient sweetens the filling.
Refer to the recipe card for ingredient details and measurements.
Recipe Variations
Make heart-shaped whoopie pies. Transfer the batter to a piping bag fitted with a large round tip. Pipe the batter onto the parchment-lined baking sheet. To create heart shapes, gently apply pressure to squeeze out some batter, then release pressure and pull gently downwards and slightly to the right. Repeat to create the other side of the heart releasing pressure and pulling gently downwards and to the left to connect the two sides at the bottom.
Try a different filling. Not a fan of cream cheese frosting? Try this recipe with vanilla buttercream or chocolate buttercream frosting. Another delicious option would be marshmallow frosting.
Double the recipe. This recipe doubles easily if you want more to share!
Make mini whoopie pies. Use a small cookie scoop to make mini versions of this recipe. Baking time will be around 8 minutes (yields approximately 24 sandwiches).
How to Make Red Velvet Whoopie Pies
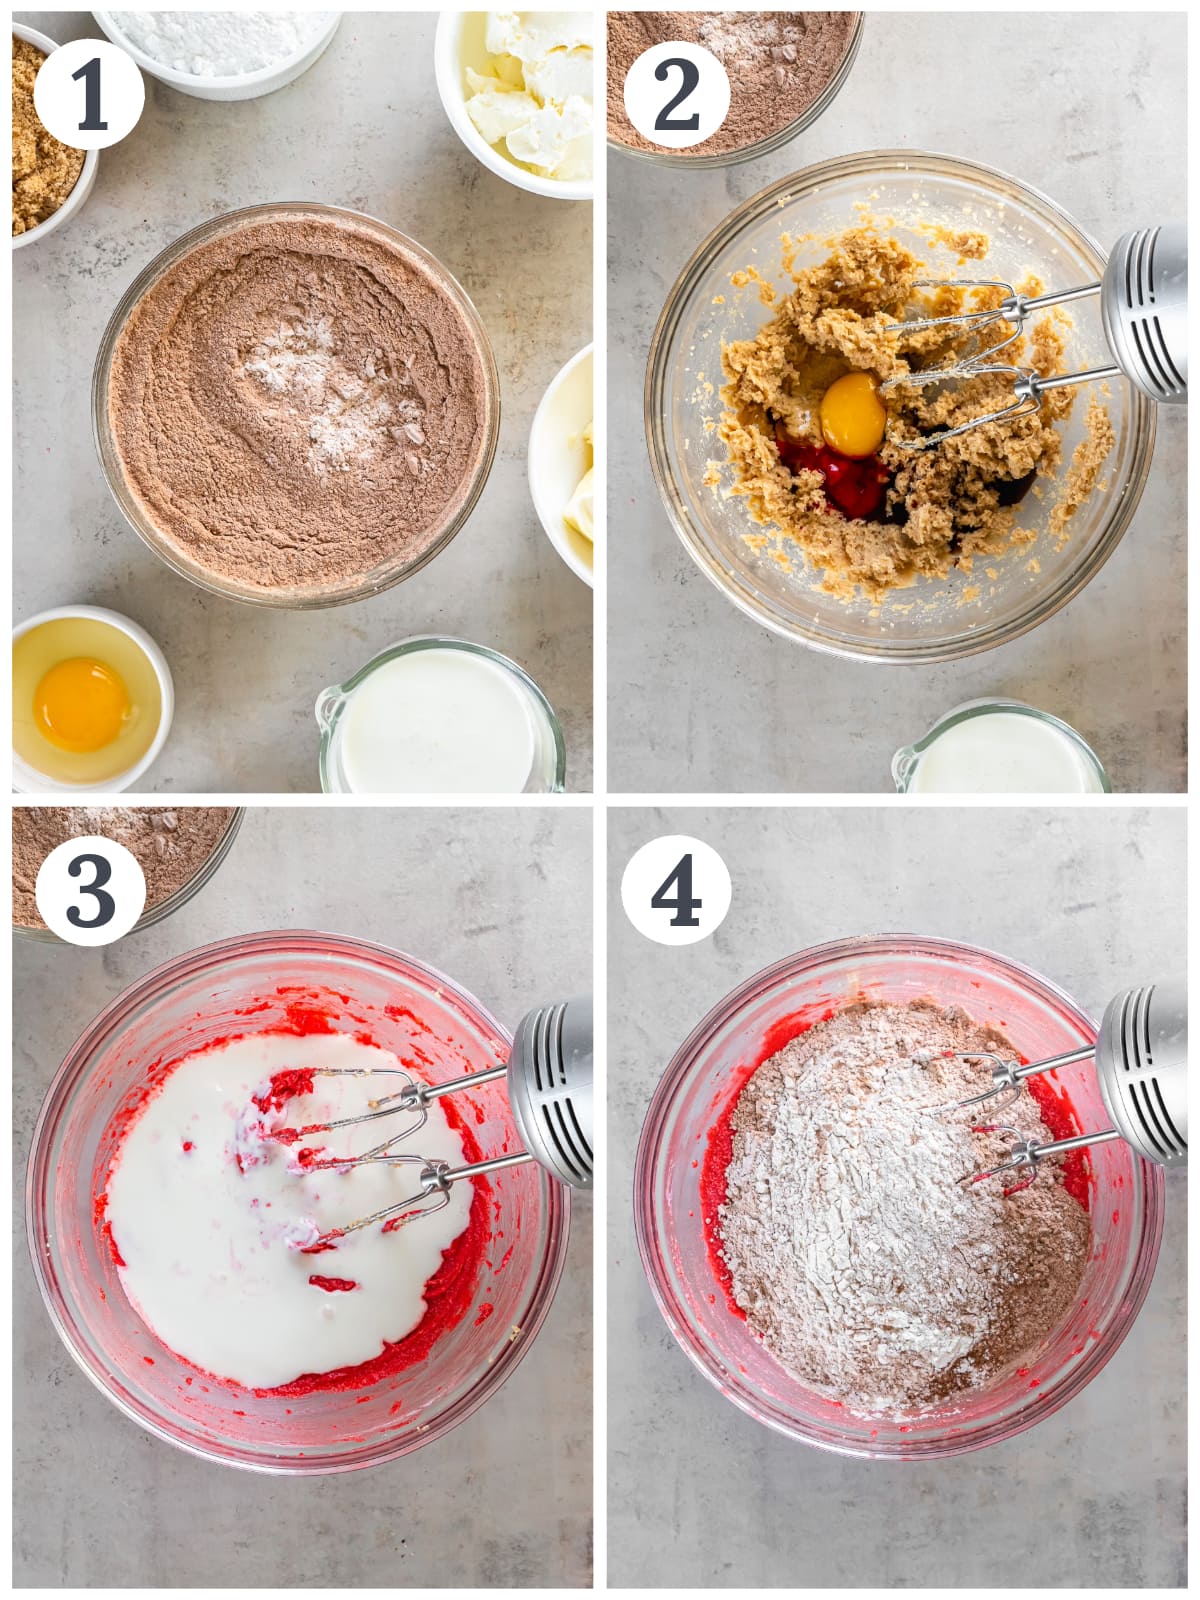
- Whisk together the dry ingredients—flour, cocoa powder, baking soda and salt. Set aside.
- Beat the butter and brown sugar until light and fluffy. Add the egg, vanilla and red food dye. Mix until incorporated.
- Mix in the buttermilk (it’s okay if mixture looks slightly curdled).
- Add the dry ingredients to the wet ingredients and mix just until combined.
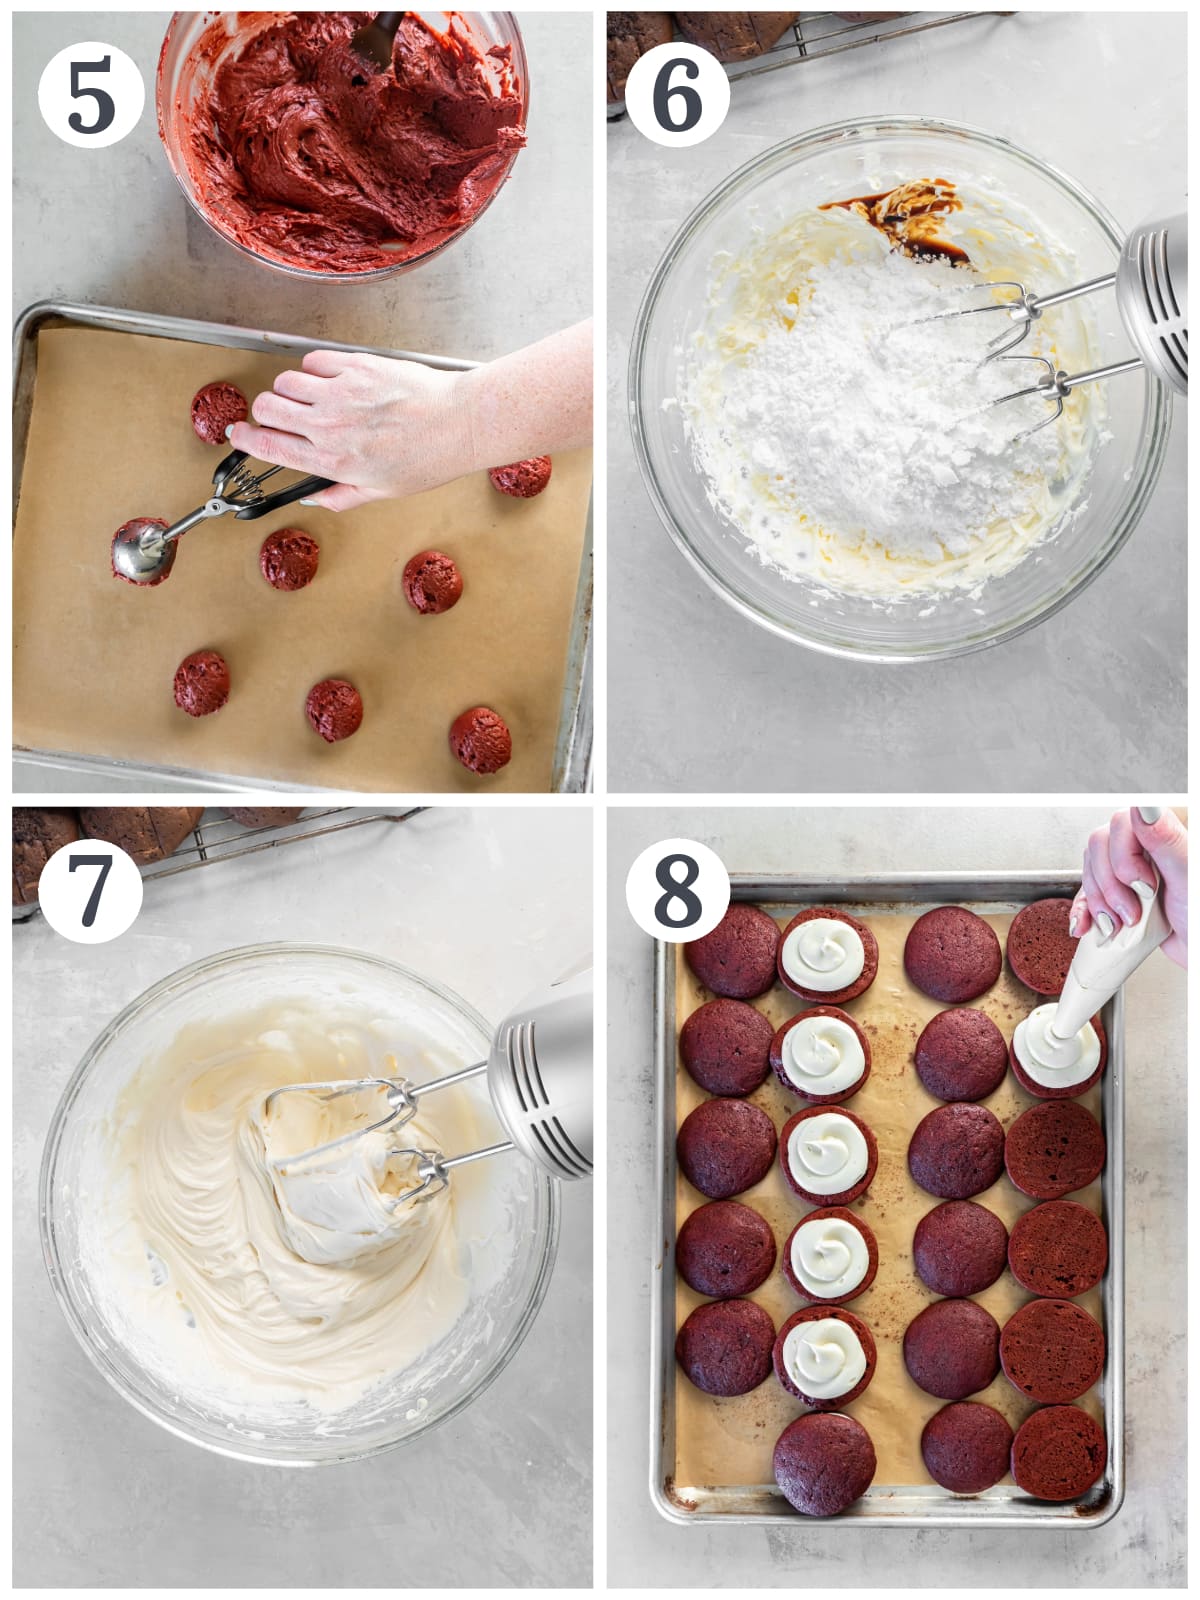
- Scoop dough into rounds of about 1 1/2 tablespoons each. Place on parchment-lined baking sheet. Bake at 350 F for 10 to 12 minutes. Cool completely.
- Beat cream cheese and butter until smooth and creamy. Add confectioners’ sugar and mix until combined.
- Mix in vanilla and a pinch of salt. Transfer frosting to a piping bag with desired tip.
- Match up cookies according to size. Pipe frosting on the bottom of one cookie and sandwich it with its pair. Repeat with remaining cookies.
Expert Tips
Don’t over-mix the batter. This will make the cookies to be dense and flat. Stir in the dry ingredients just until incorporated.
Use natural unsweetened cocoa powder (not Dutch-process). Natural cocoa is acidic and it works with baking soda to make tiny bubbles when baked. As a results, the whoopie pies turn out extra fluffy!
Use block cream cheese, not the kind from the tub. Block-style is denser and has less air. This makes the frosting more stable and thick when piping. To prevent frosting from melting, let the cookies cool completely before adding the filling.
Weigh your ingredients with a kitchen scale. If you don’t have a scale, spoon your flour into a measuring cup and level with a knife.
Use room temperature ingredients. This creates a smooth and consistent batter, which results in perfectly soft whoopie pies.
Make Ahead and Storage Tips
Make ahead the dough and store tightly wrapped in plastic wrap. Dough will keep in the refrigerator for up to 48 hours. Bring to room temperature before scooping and baking. The frosting may also be made ahead of time and stored in the refrigerator for up to 1 week.
Store whoopie pies in an airtight container in the refrigerator for up to 1 week. I suggest using parchment paper or wax paper between layers to prevent the pies from sticking. Bring to room temperature before serving.
Freeze for up to 2 months. Wrap individual pies in plastic wrap and place in an airtight container. Defrost in the refrigerator before bringing to room temperature.
Recipe FAQ
Yes, place two teaspoons white distilled vinegar in a measuring cup. Add regular milk (whole or nonfat) and fill to the 3/4 measure. Stir and let the mixture sit for 10 minutes before using in the recipe.
Most likely the batter was over-mixed when the dry ingredients were added or there was too much liquid in the batter. I also suggest checking that your baking powder is not expired.
I suggest gel food coloring. It’s more concentrated and creates a stronger hue. Liquid dye also works, but you’ll need quite a bit more of it to get the right color.

Related Recipes
Want to try more sweet treats? Try these recipes next!
Did you love this recipe? Please leave a 5-star 🌟🌟🌟🌟🌟 rating in the recipe card below and if you REALLY loved it, consider leaving a comment further down the page.

Get the Recipe: Red Velvet Whoopie Pies
Ingredients
Whoopie Pies
- 2 cups (250 g) all-purpose flour
- ¼ cup (25 g) natural unsweetened cocoa powder, (not dutch process)
- 1 teaspoon baking soda
- ½ teaspoon sea salt
- ½ cup (113 g or 1 stick) unsalted butter, room temperature
- 1 cup (200 g) light brown sugar
- 1 large egg, room temperature
- 1 teaspoon pure vanilla extract
- ¾ cup (180 ml) buttermilk, room temperature
- 1 teaspoon gel red food coloring, (see notes)
Cream Cheese Filling
- 1 cup (225 g or 8 oz) block-style cream cheese, room temperature
- ¼ cup (57 g) unsalted butter, room temperature
- 2 cups (240 g) confectioners’ sugar, sifted
- ½ teaspoon pure vanilla extract
- Pinch of salt
Instructions
- Preheat oven to 350℉. Line a baking sheet with parchment paper and set aside.
- In a large bowl, whisk together flour, cocoa powder, baking soda and salt. Set aside.
- In the bowl of a stand mixer (or using a hand mixer), beat butter and brown sugar on medium-high speed until light and fluffy, about 3 minutes. Add egg, vanilla and red food gel. Mix in the buttermilk (it’s okay if it looks a little curdled). Scrape down the sides of the bowl as needed.
- Add the dry ingredients to wet ingredients and mix just until combined.
- Use a medium cookie scoop to transfer batter to prepared pan, leaving 2 inches of space between each scoop. Bake at 350℉ for about 10 to 12 minutes. They are done when they are soft and slightly springy. Transfer to a wire rack to cool completely.
- In the bowl of a stand mixer (or using a hand mixer), beat cream cheese and butter until creamy. Add confectioners’ sugar and mix until combined. Finally, mix in vanilla and a pinch of salt.
- Transfer frosting to a piping bag fitted with desired tip. Match up the whoopie pies so the pairs are similar size. Pipe frosting to the bottom of one cookie, then press the bottom of the matching cookie gently on top to create a sandwich. Repeat with remaining cookies.

